
Building Annie: A Set Builder's Guide to the Show
Annie is one of those shows that demands a lot from a set builder. You’ve got the gritty orphanage, the glittering streets of NYC, a 1930s radio studio, and the grandeur of Daddy Warbucks’ mansion — all on the same stage. Here’s a breakdown of what I built for our 2024 production and how I approached each piece, in case it helps anyone taking on this show themselves.
The NYC Marquee Signs
One of the most iconic moments in Annie is the “NYC” number, when Annie and Daddy Warbucks stroll the streets of New York. To sell that scene, you need the feel of the city — and nothing does that like lit marquee signs.
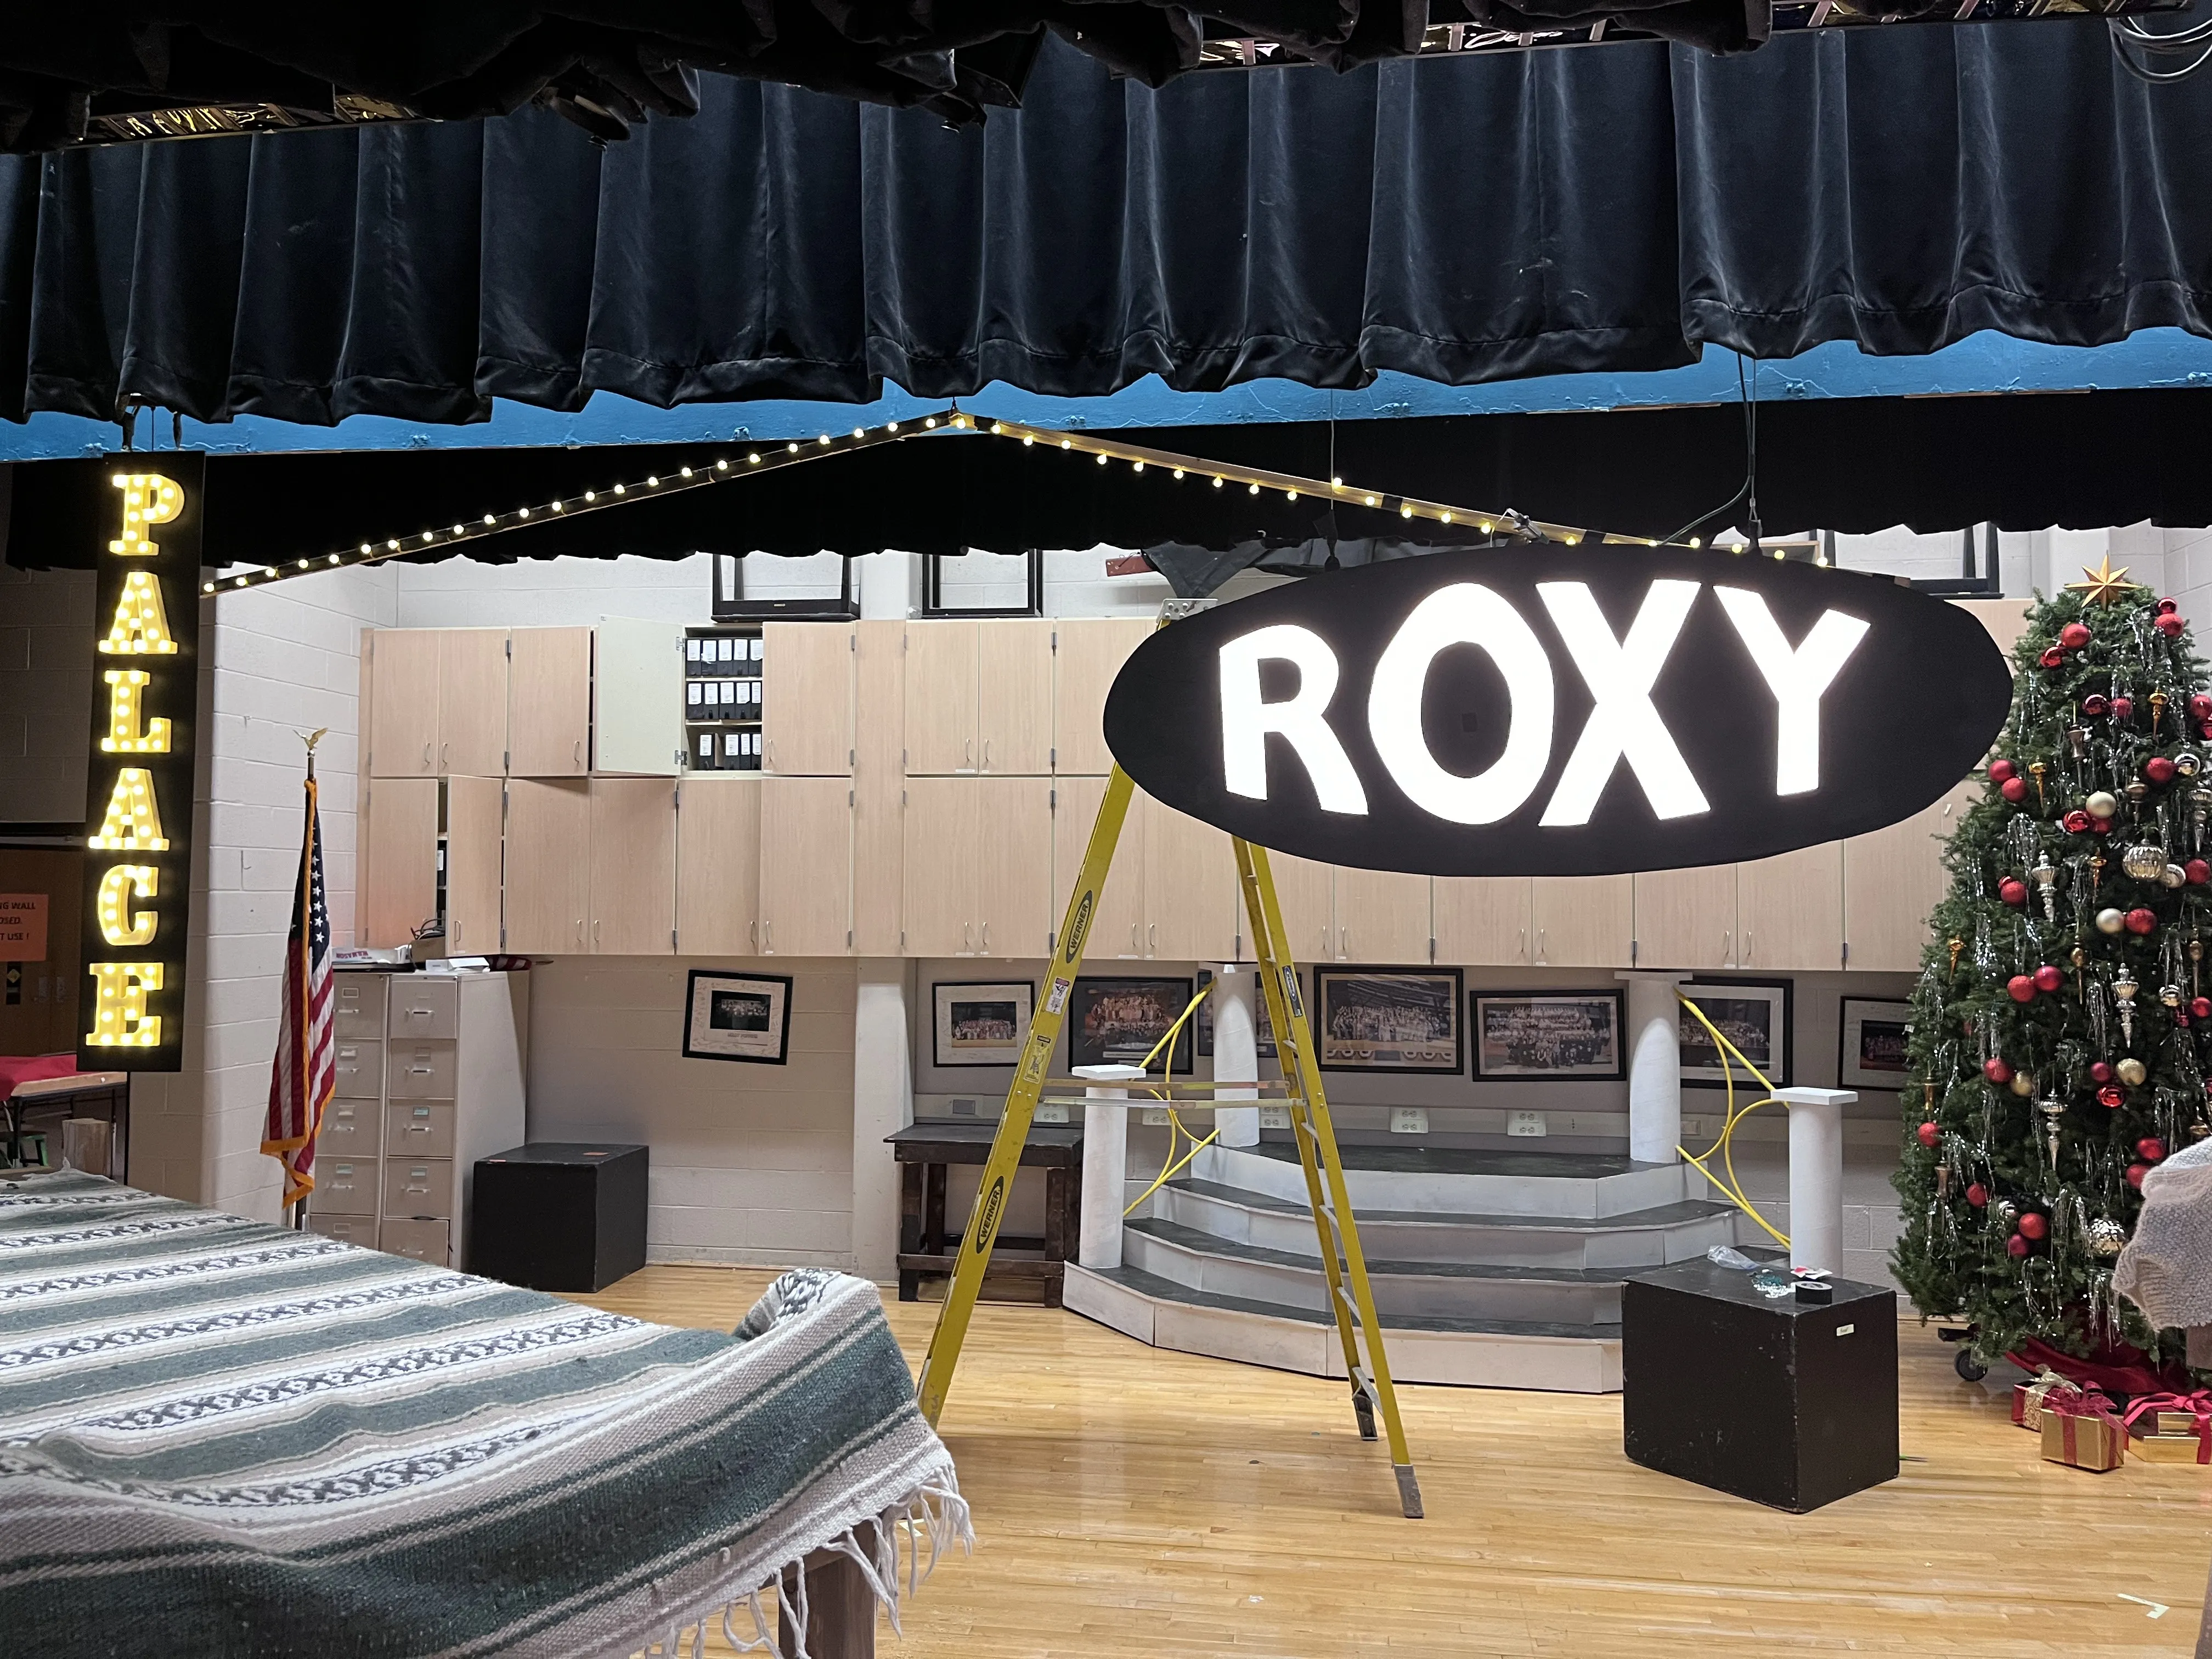
I built three signs: Broadway, Palace, and Roxy. Each one is a simple black box made from Luan with 1x3 framing material. The process for each sign was the same:
- Print the sign name at scale and tape the letters together
- Carefully hand-cut each letter out — including the interior pieces of letters like the center of a B or O
- Back the cutouts with white paper
- Glue string lights inside the box, running the cords out through the back
- Mount the face on the box
The cutting is slow and tedious — expect to spend several hours per sign. The interior pieces of closed letters (the “counter” of a B, the middle of an O) need to be glued back in with small paper tabs to hold them in place. It’s meticulous work but absolutely worth it.
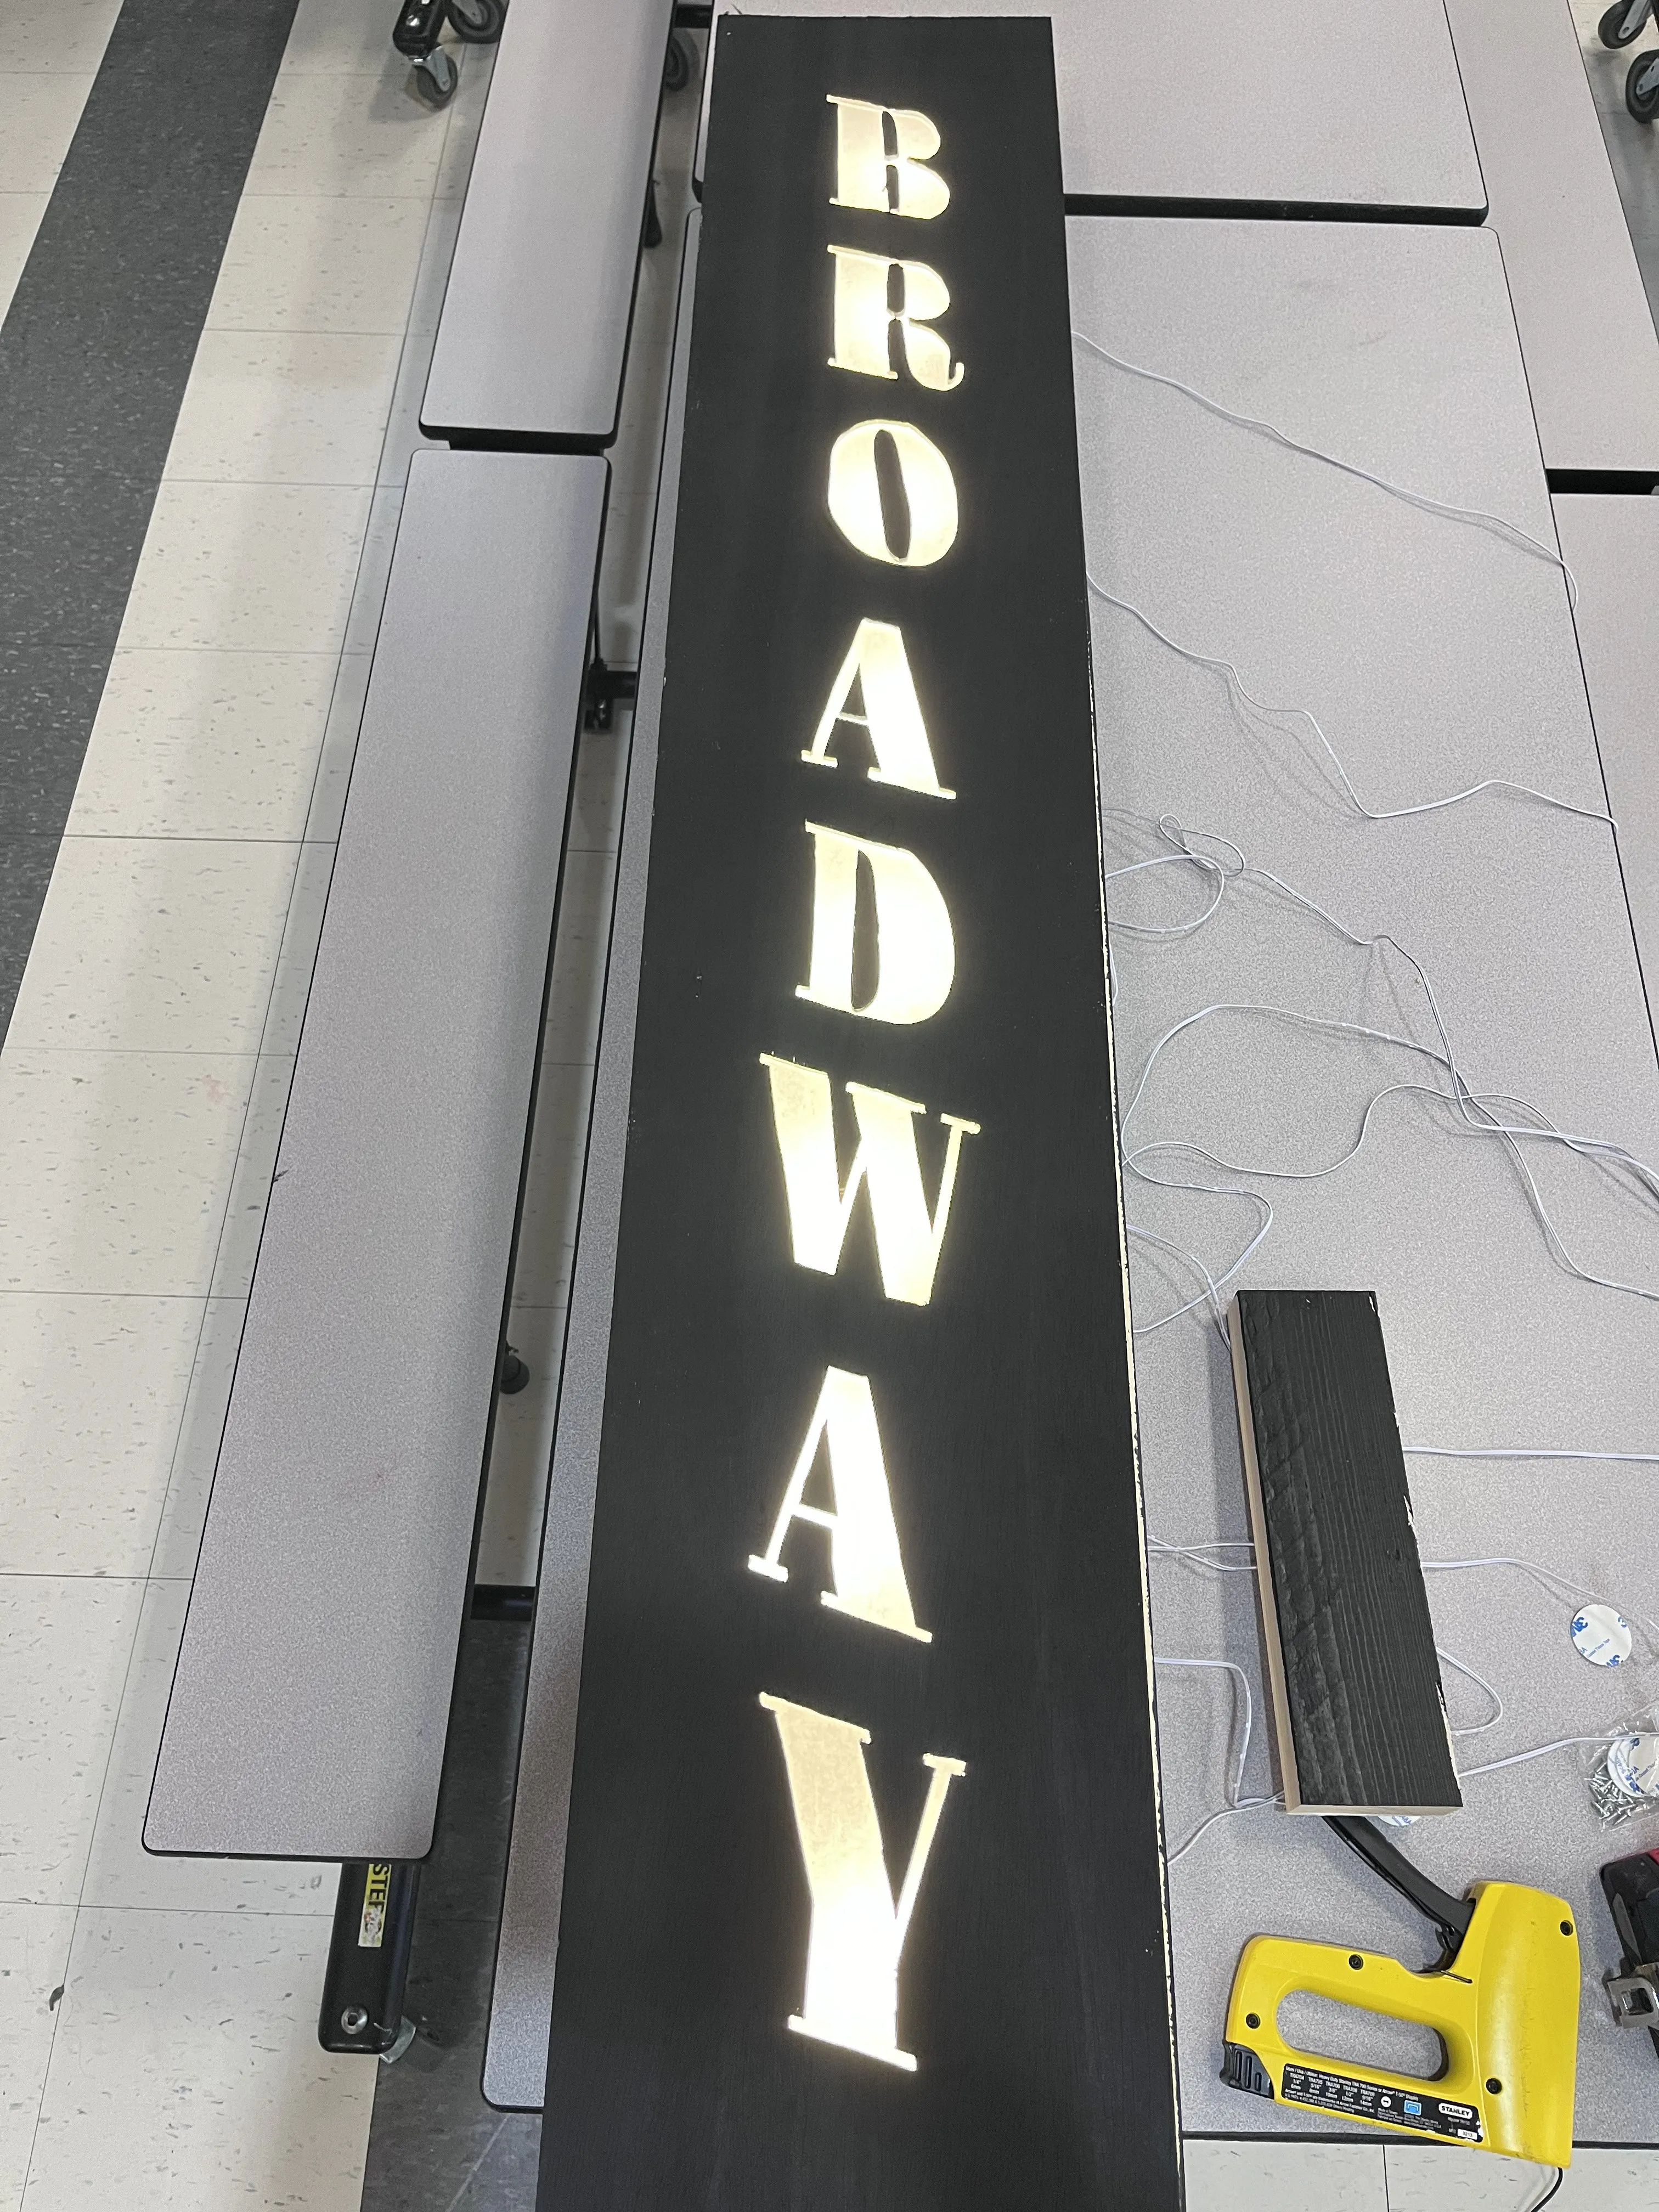
When the lights go on, the effect is stunning. The signs glow from the inside just like real 1930s marquee signs. The Roxy sign used an oval shape to match the famous Roxy Theatre, which added a nice variety to the three signs.
Tips if you’re building these:
- Buy string lights with small, warm-white bulbs — cool white looks too modern
- Use Luan for the face panel; it’s thin enough to cut cleanly but rigid enough to hold shape
- Test your letter spacing by printing a full-size proof before cutting anything
- Glue the counter pieces (letter interiors) down before you mount the face — much easier to handle flat
The NYC Street Scene
Alongside the marquee signs, we needed an actual New York City street backdrop. I kept this grounded and practical.
The brick walls are the textured brick paneling you can buy at any Home Depot. It’s cheap, covers a lot of ground quickly, and reads perfectly as a city building from the audience. I framed in a door for an apartment stoop feel.
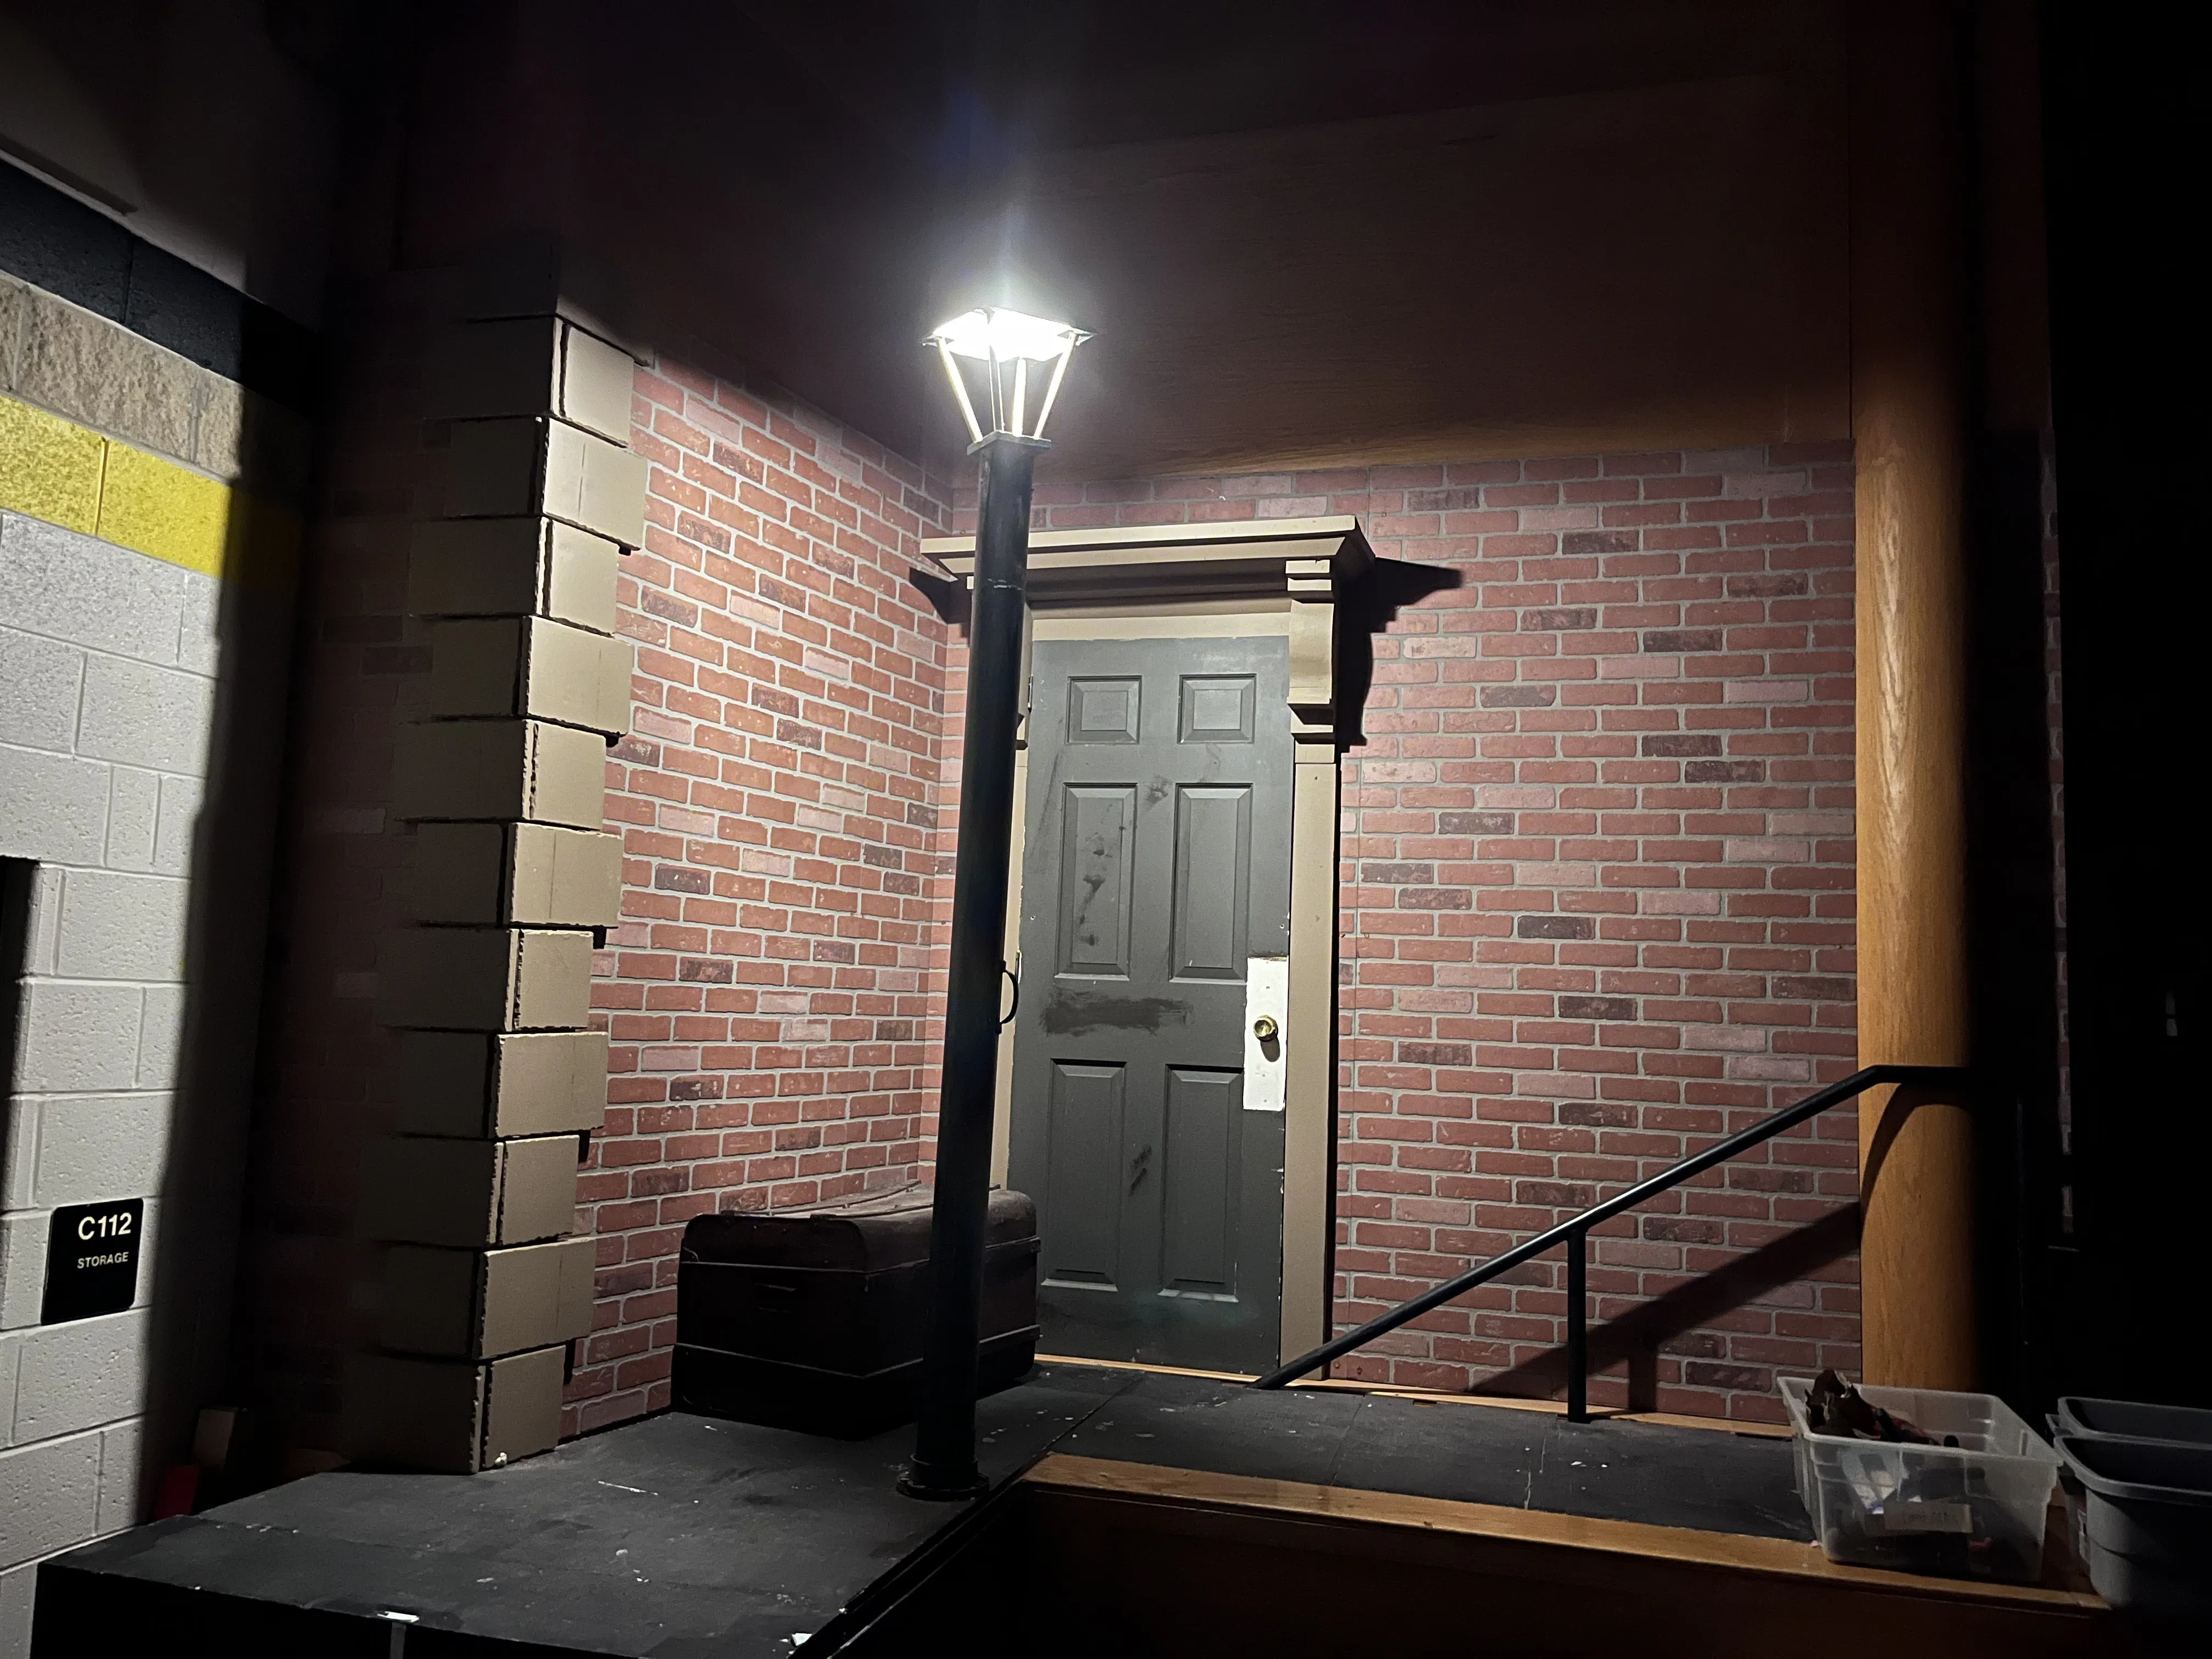
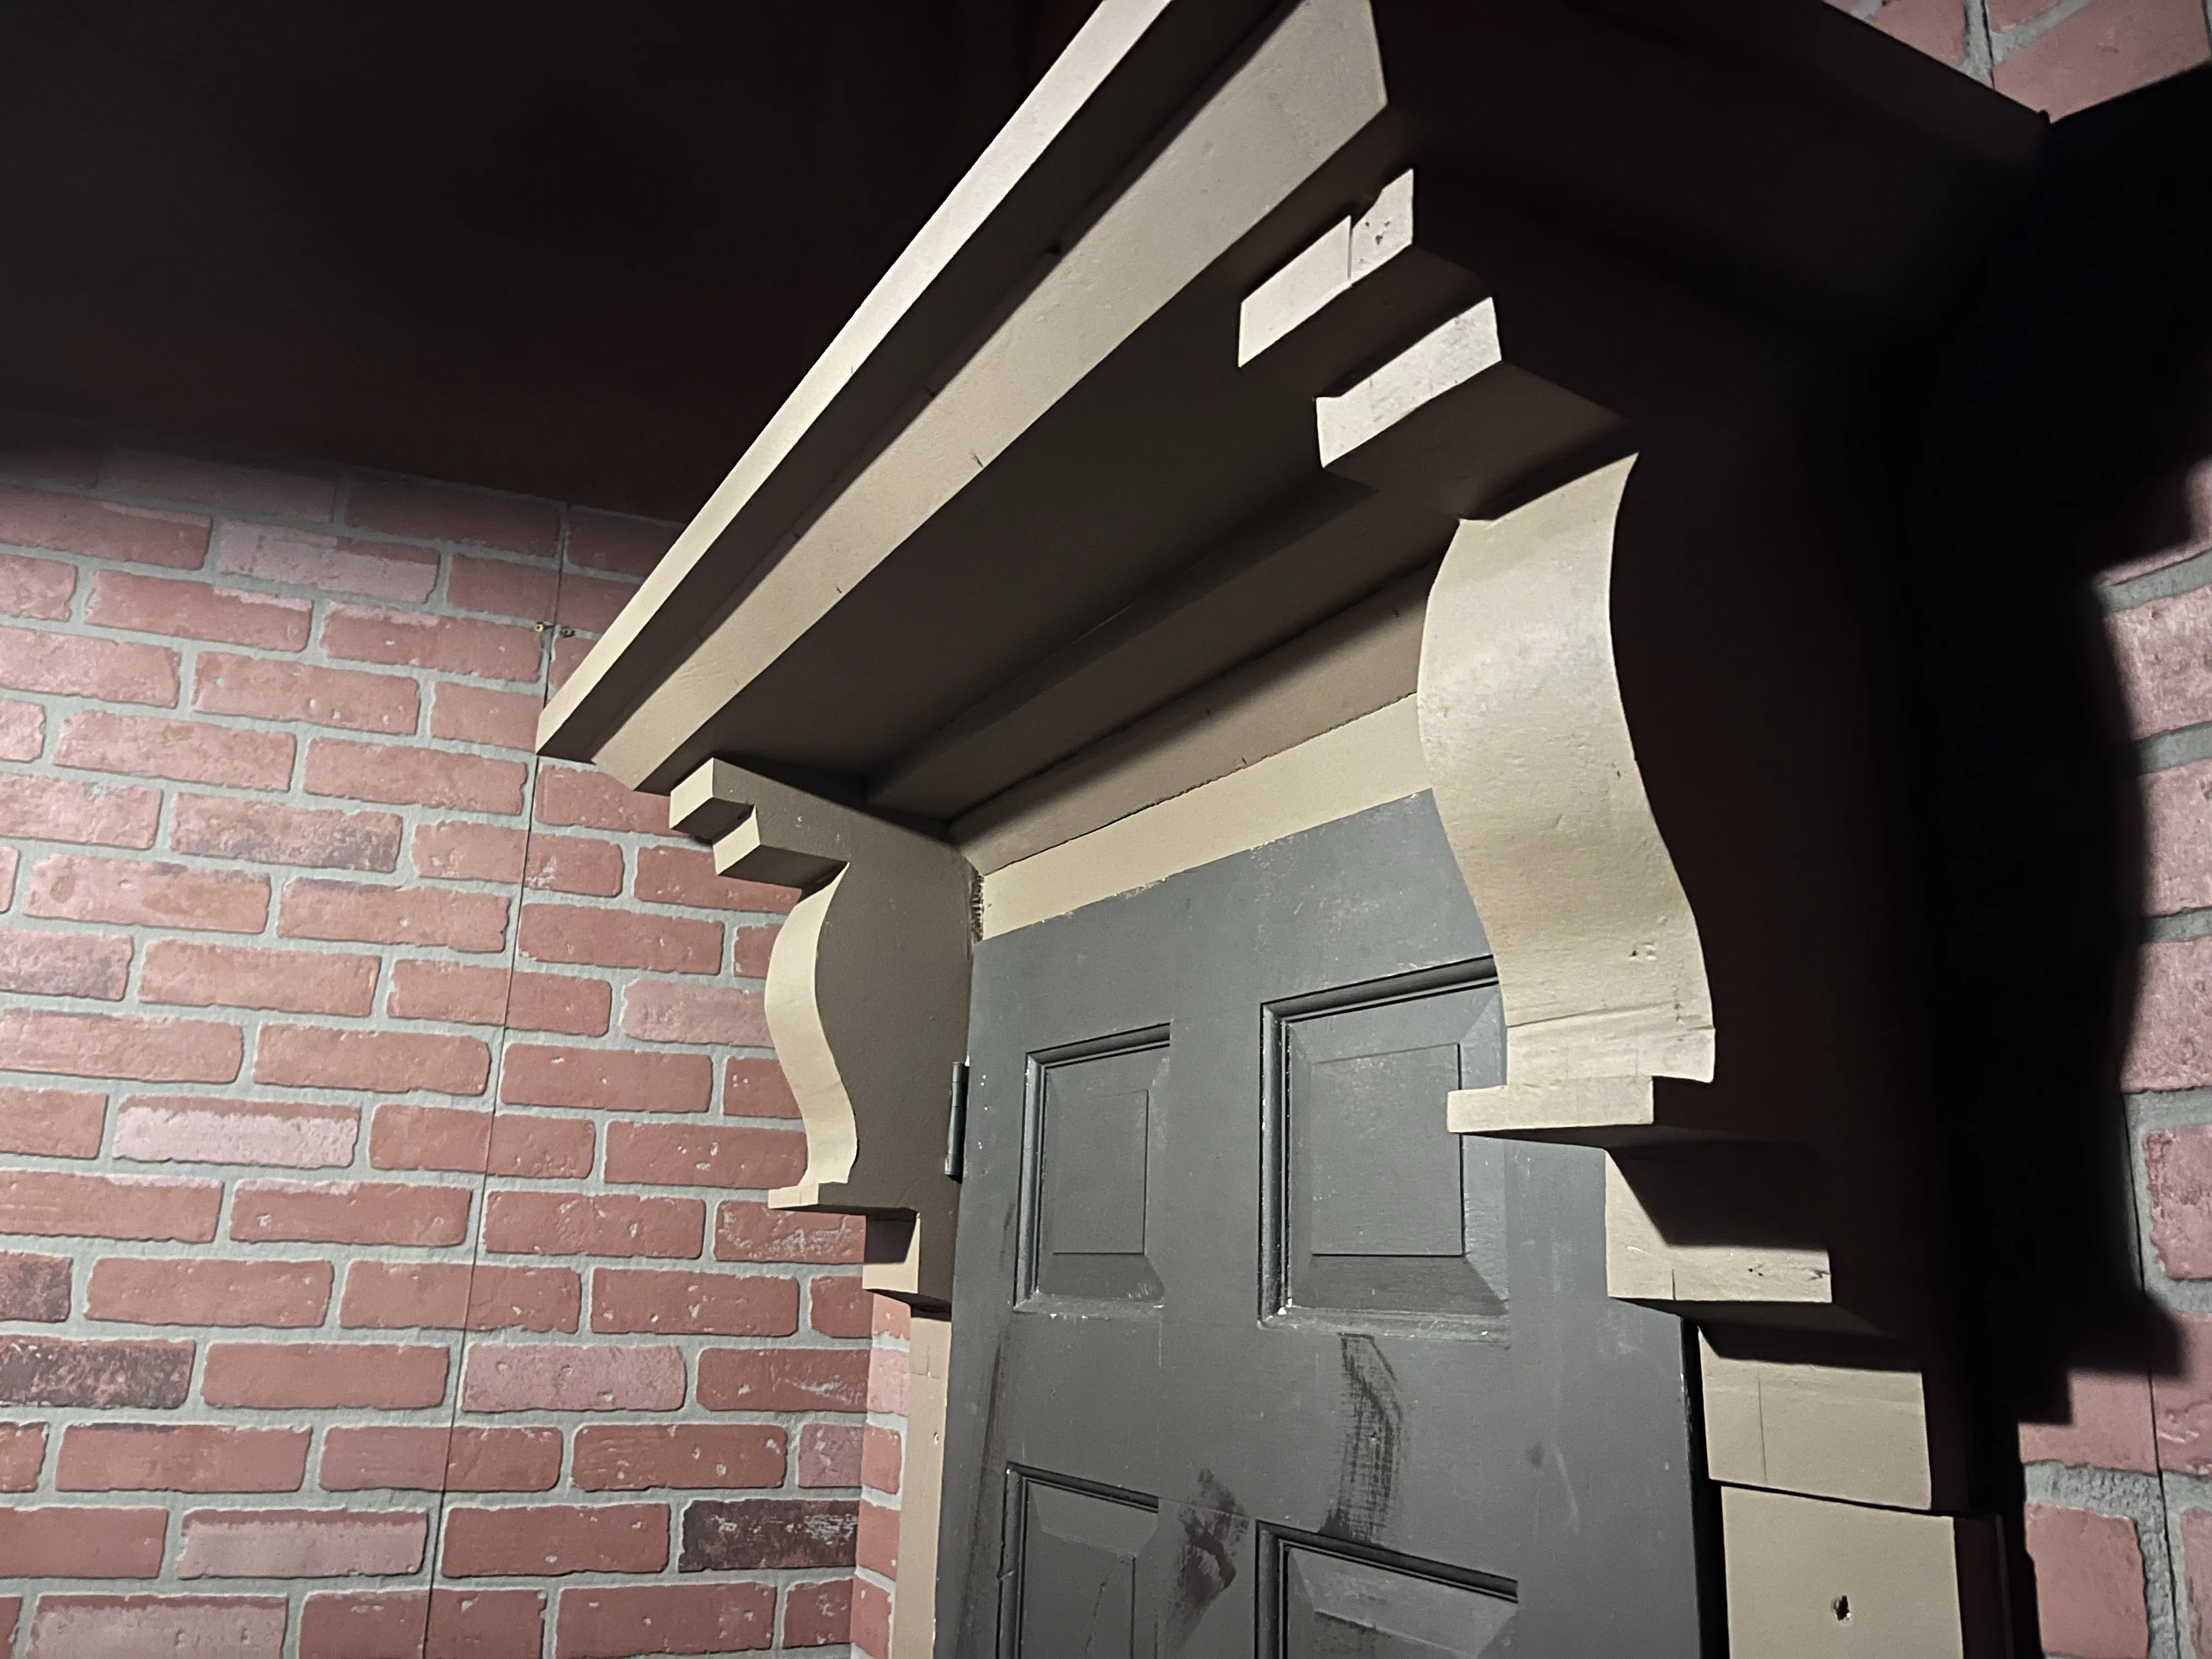
The piece I’m most proud of is the carved foam mantelpiece above the door. This was my first time using rigid foam insulation with a hot wire cutter. The process:
- Stack layers of 2” foam insulation
- Sketch the cornice profile on the side
- Use a hot wire cutter to carve the profile — work slowly and let the wire do the cutting
- Sand lightly and paint
The result is a detailed architectural cornice that looks like stone from the audience. Foam is incredibly forgiving — if you cut too much, you can glue a piece back. It’s now one of my favorite techniques and I’ve used it on several shows since.
To complete the alley feel, I added a steamer trunk, some trash, billboard-style signage, and other street debris. The details matter — dressing a scene like this is what makes it feel lived-in rather than just painted flats.
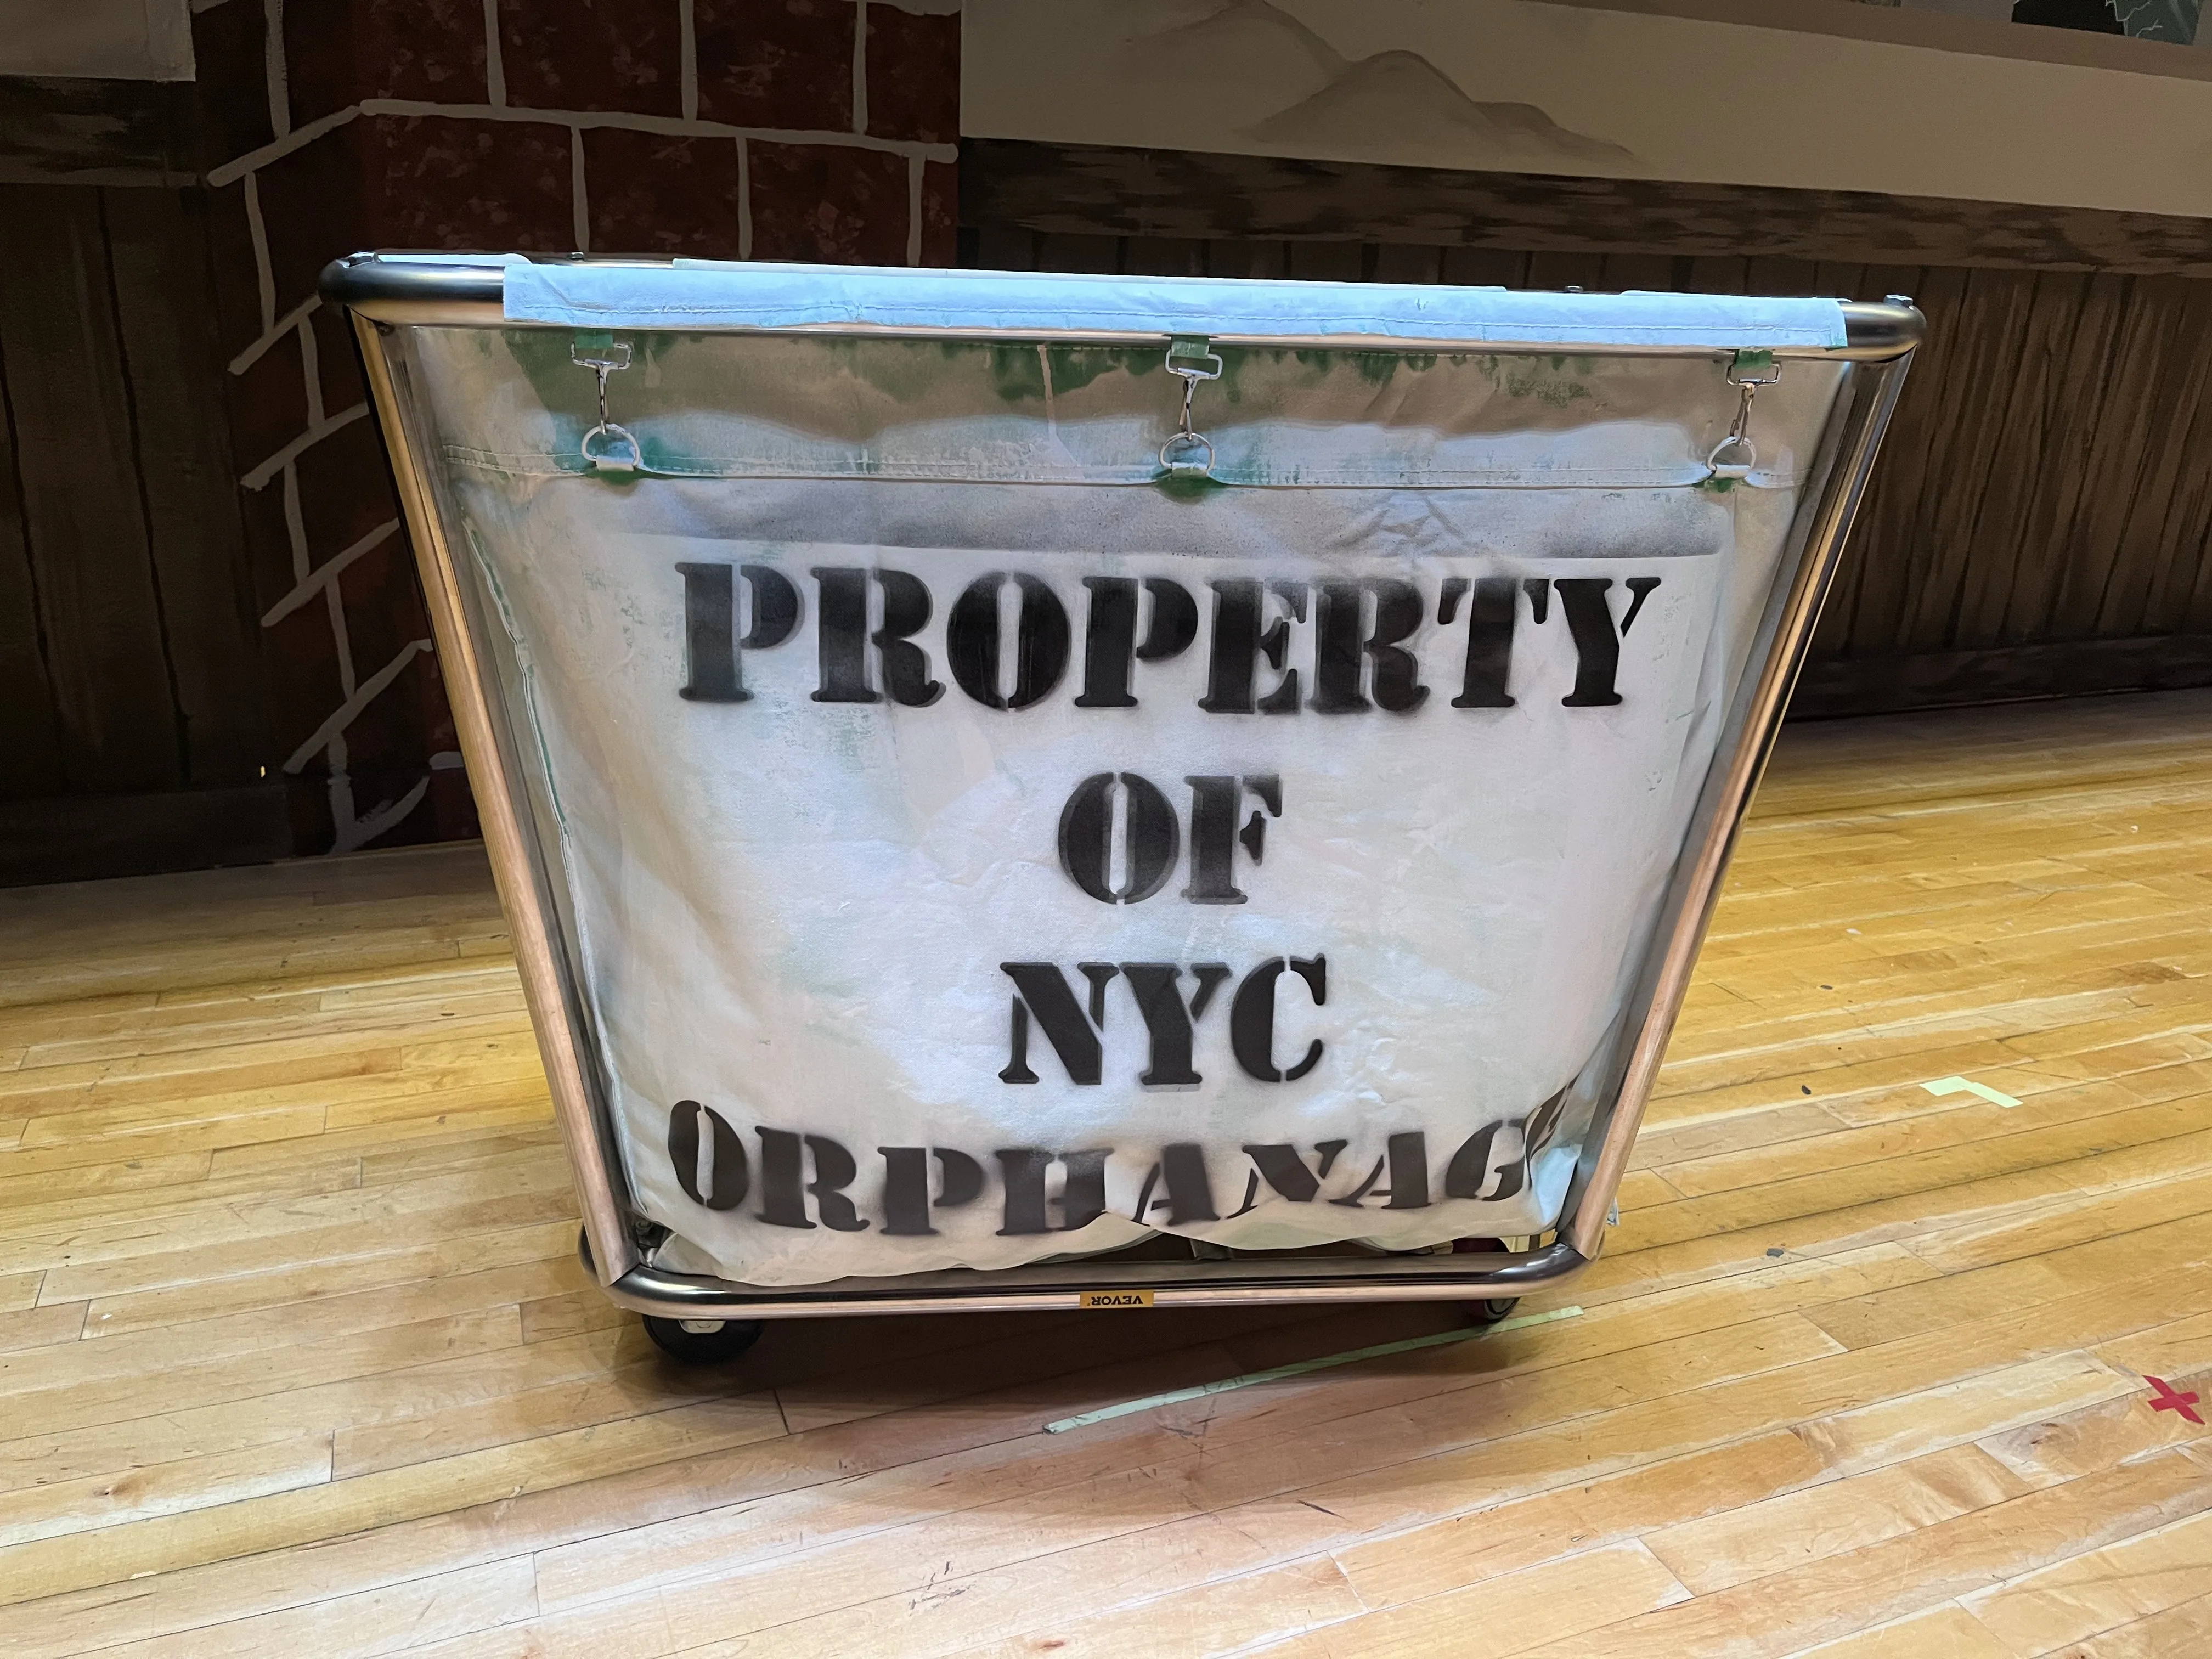
The Orphan Bunk Beds
The orphanage opening is one of Annie’s most visually busy scenes. You’ve got a dozen kids on stage and you need it to feel like a cramped NYC orphanage dormitory. For our production, I built four bunk beds.
Each bed is simple: 2x4 framing in a rectangular bed shape, with a second level framed on top. The tricky part is the caster wheels. I attached heavy-duty casters to the bottoms of the 2x4 feet so the beds could be rolled on and off stage quickly. The key is making sure those wheel mounts are solid — kids were climbing up on the top bunks and the beds were being moved while occupied.
The beds ended up being a huge upgrade over our previous Annie production, which had the orphans lying on an empty stage floor. Having some girls in the top bunks and some in the bottom gives the scene real vertical interest and communicates the crowded conditions of the orphanage immediately.
Tips:
- Use heavy-duty locking casters — at least 3” wheels with a weight rating well above what you think you need
- Mount the caster plate directly to the 2x4 base, not to a thin plywood panel
- Test the rolling on your actual stage surface before load-in — rubber casters on a hardwood stage is very different from a painted concrete floor
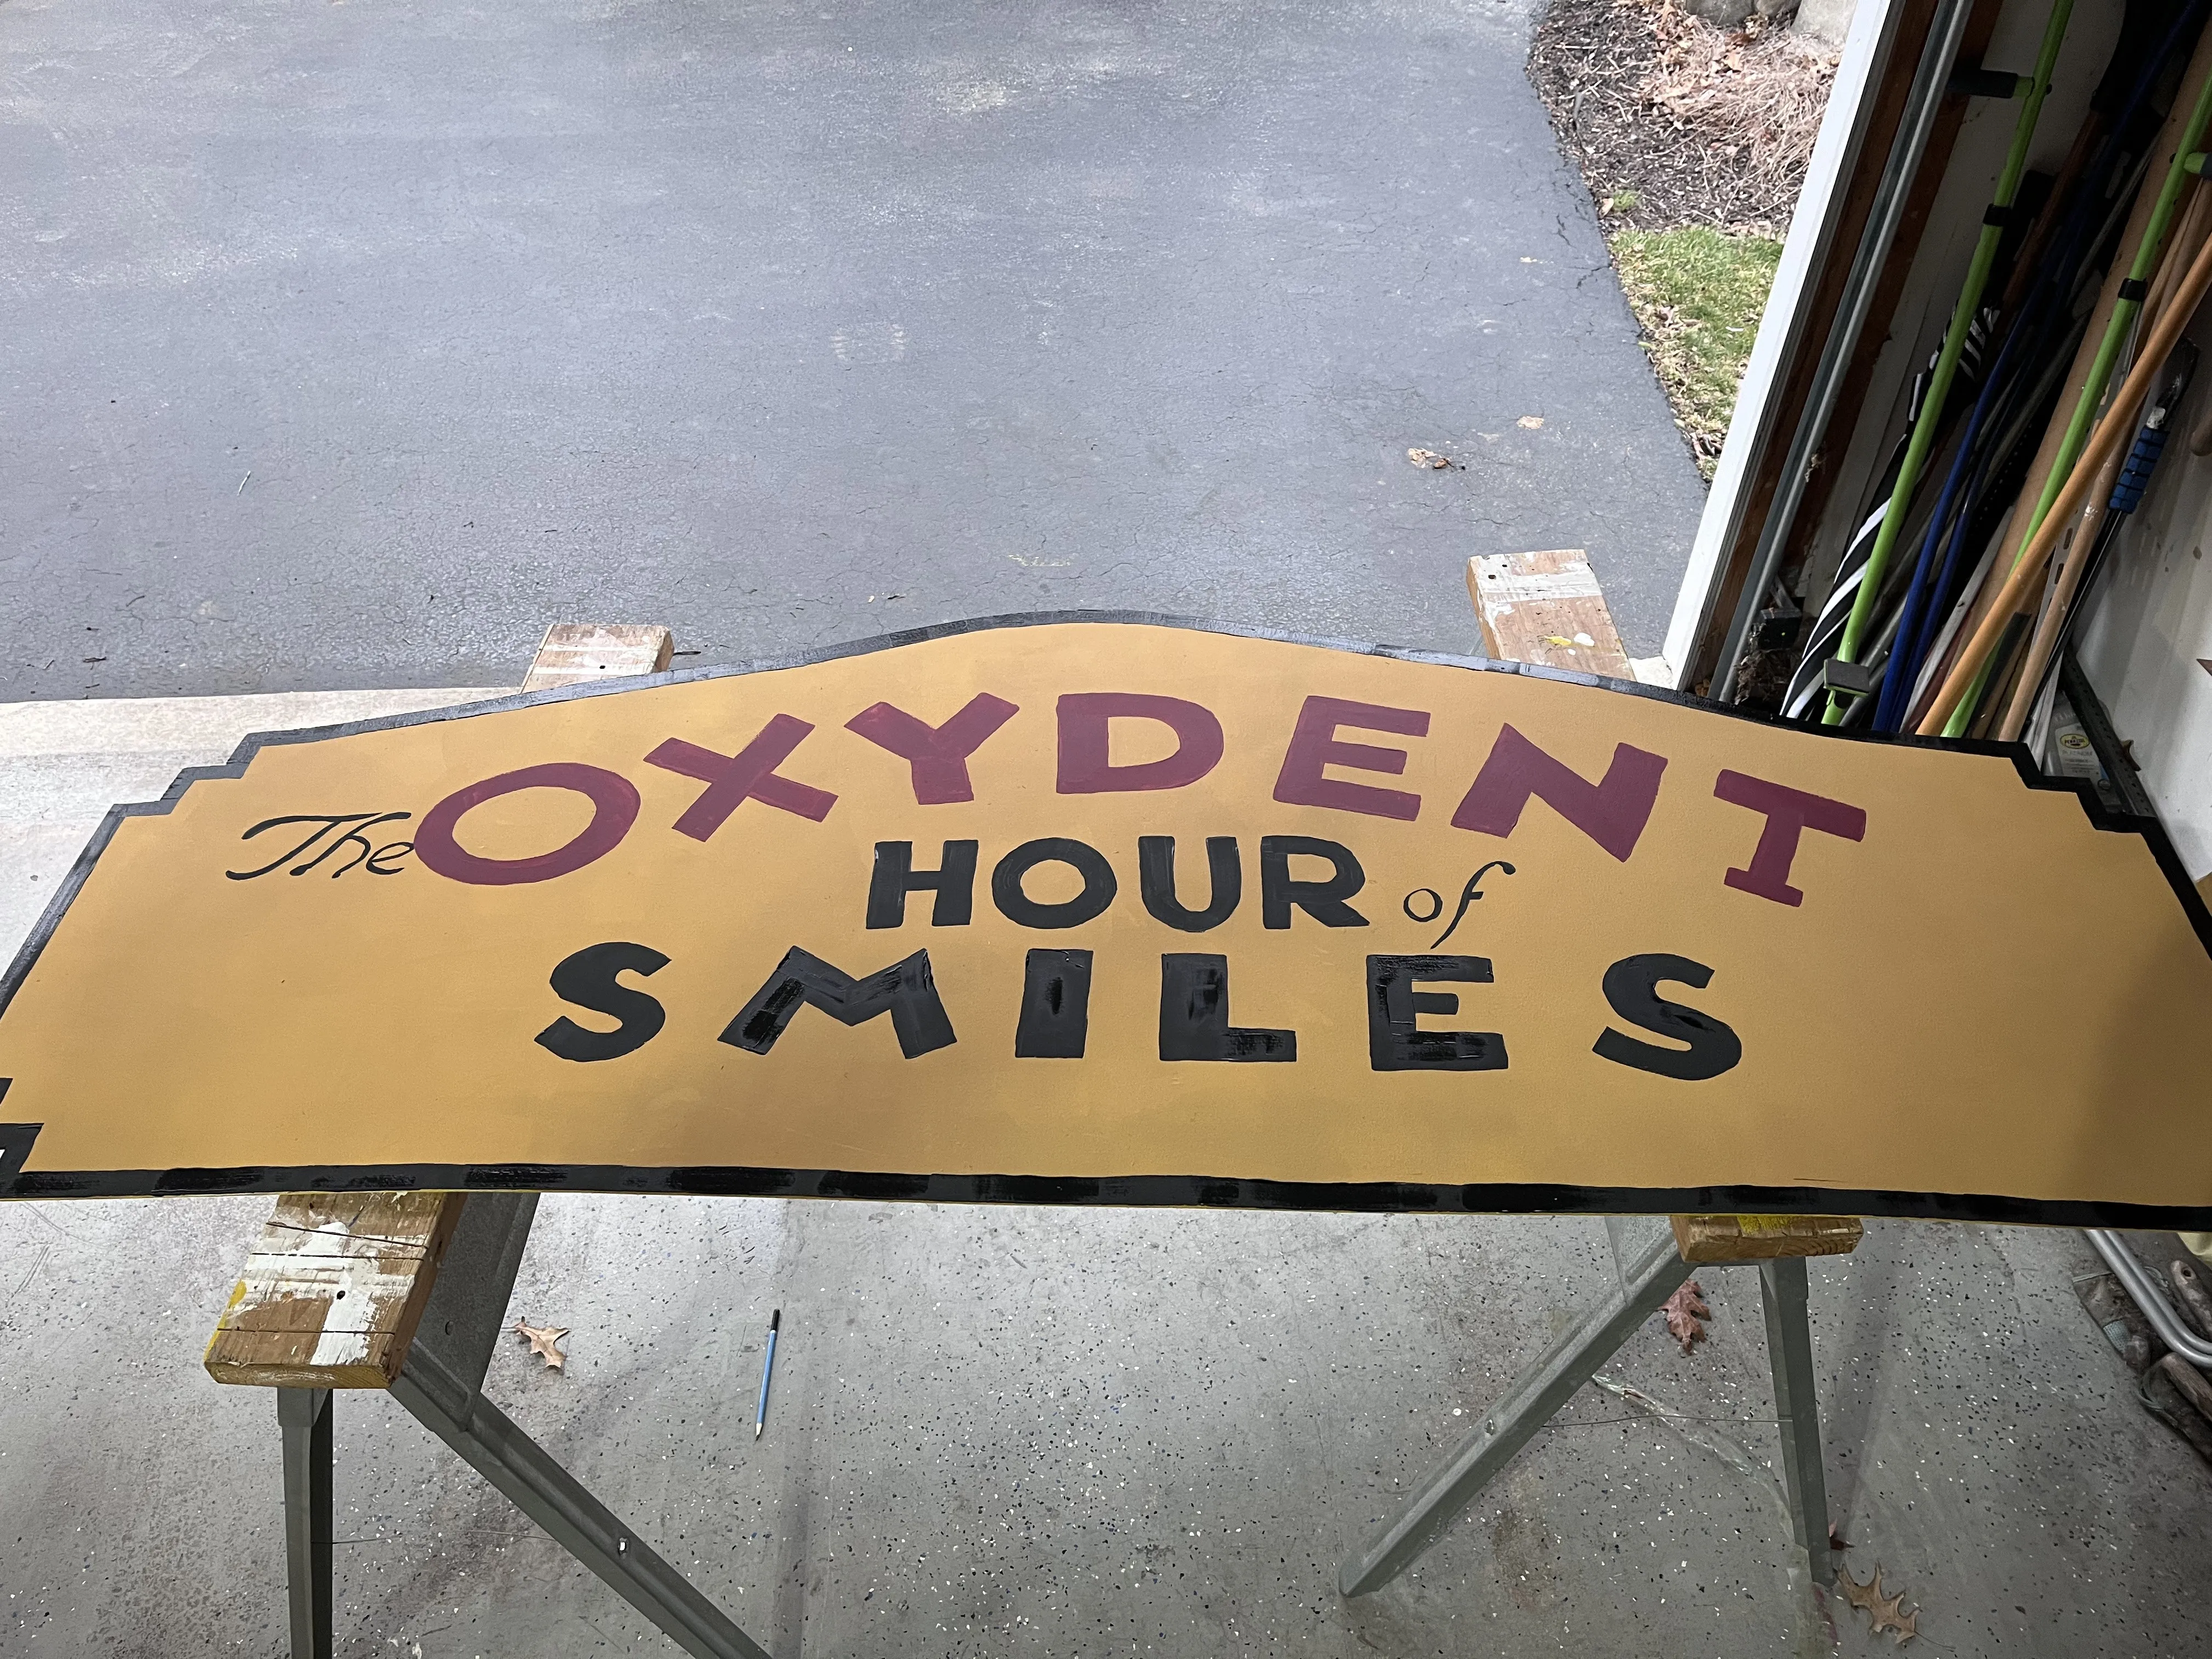
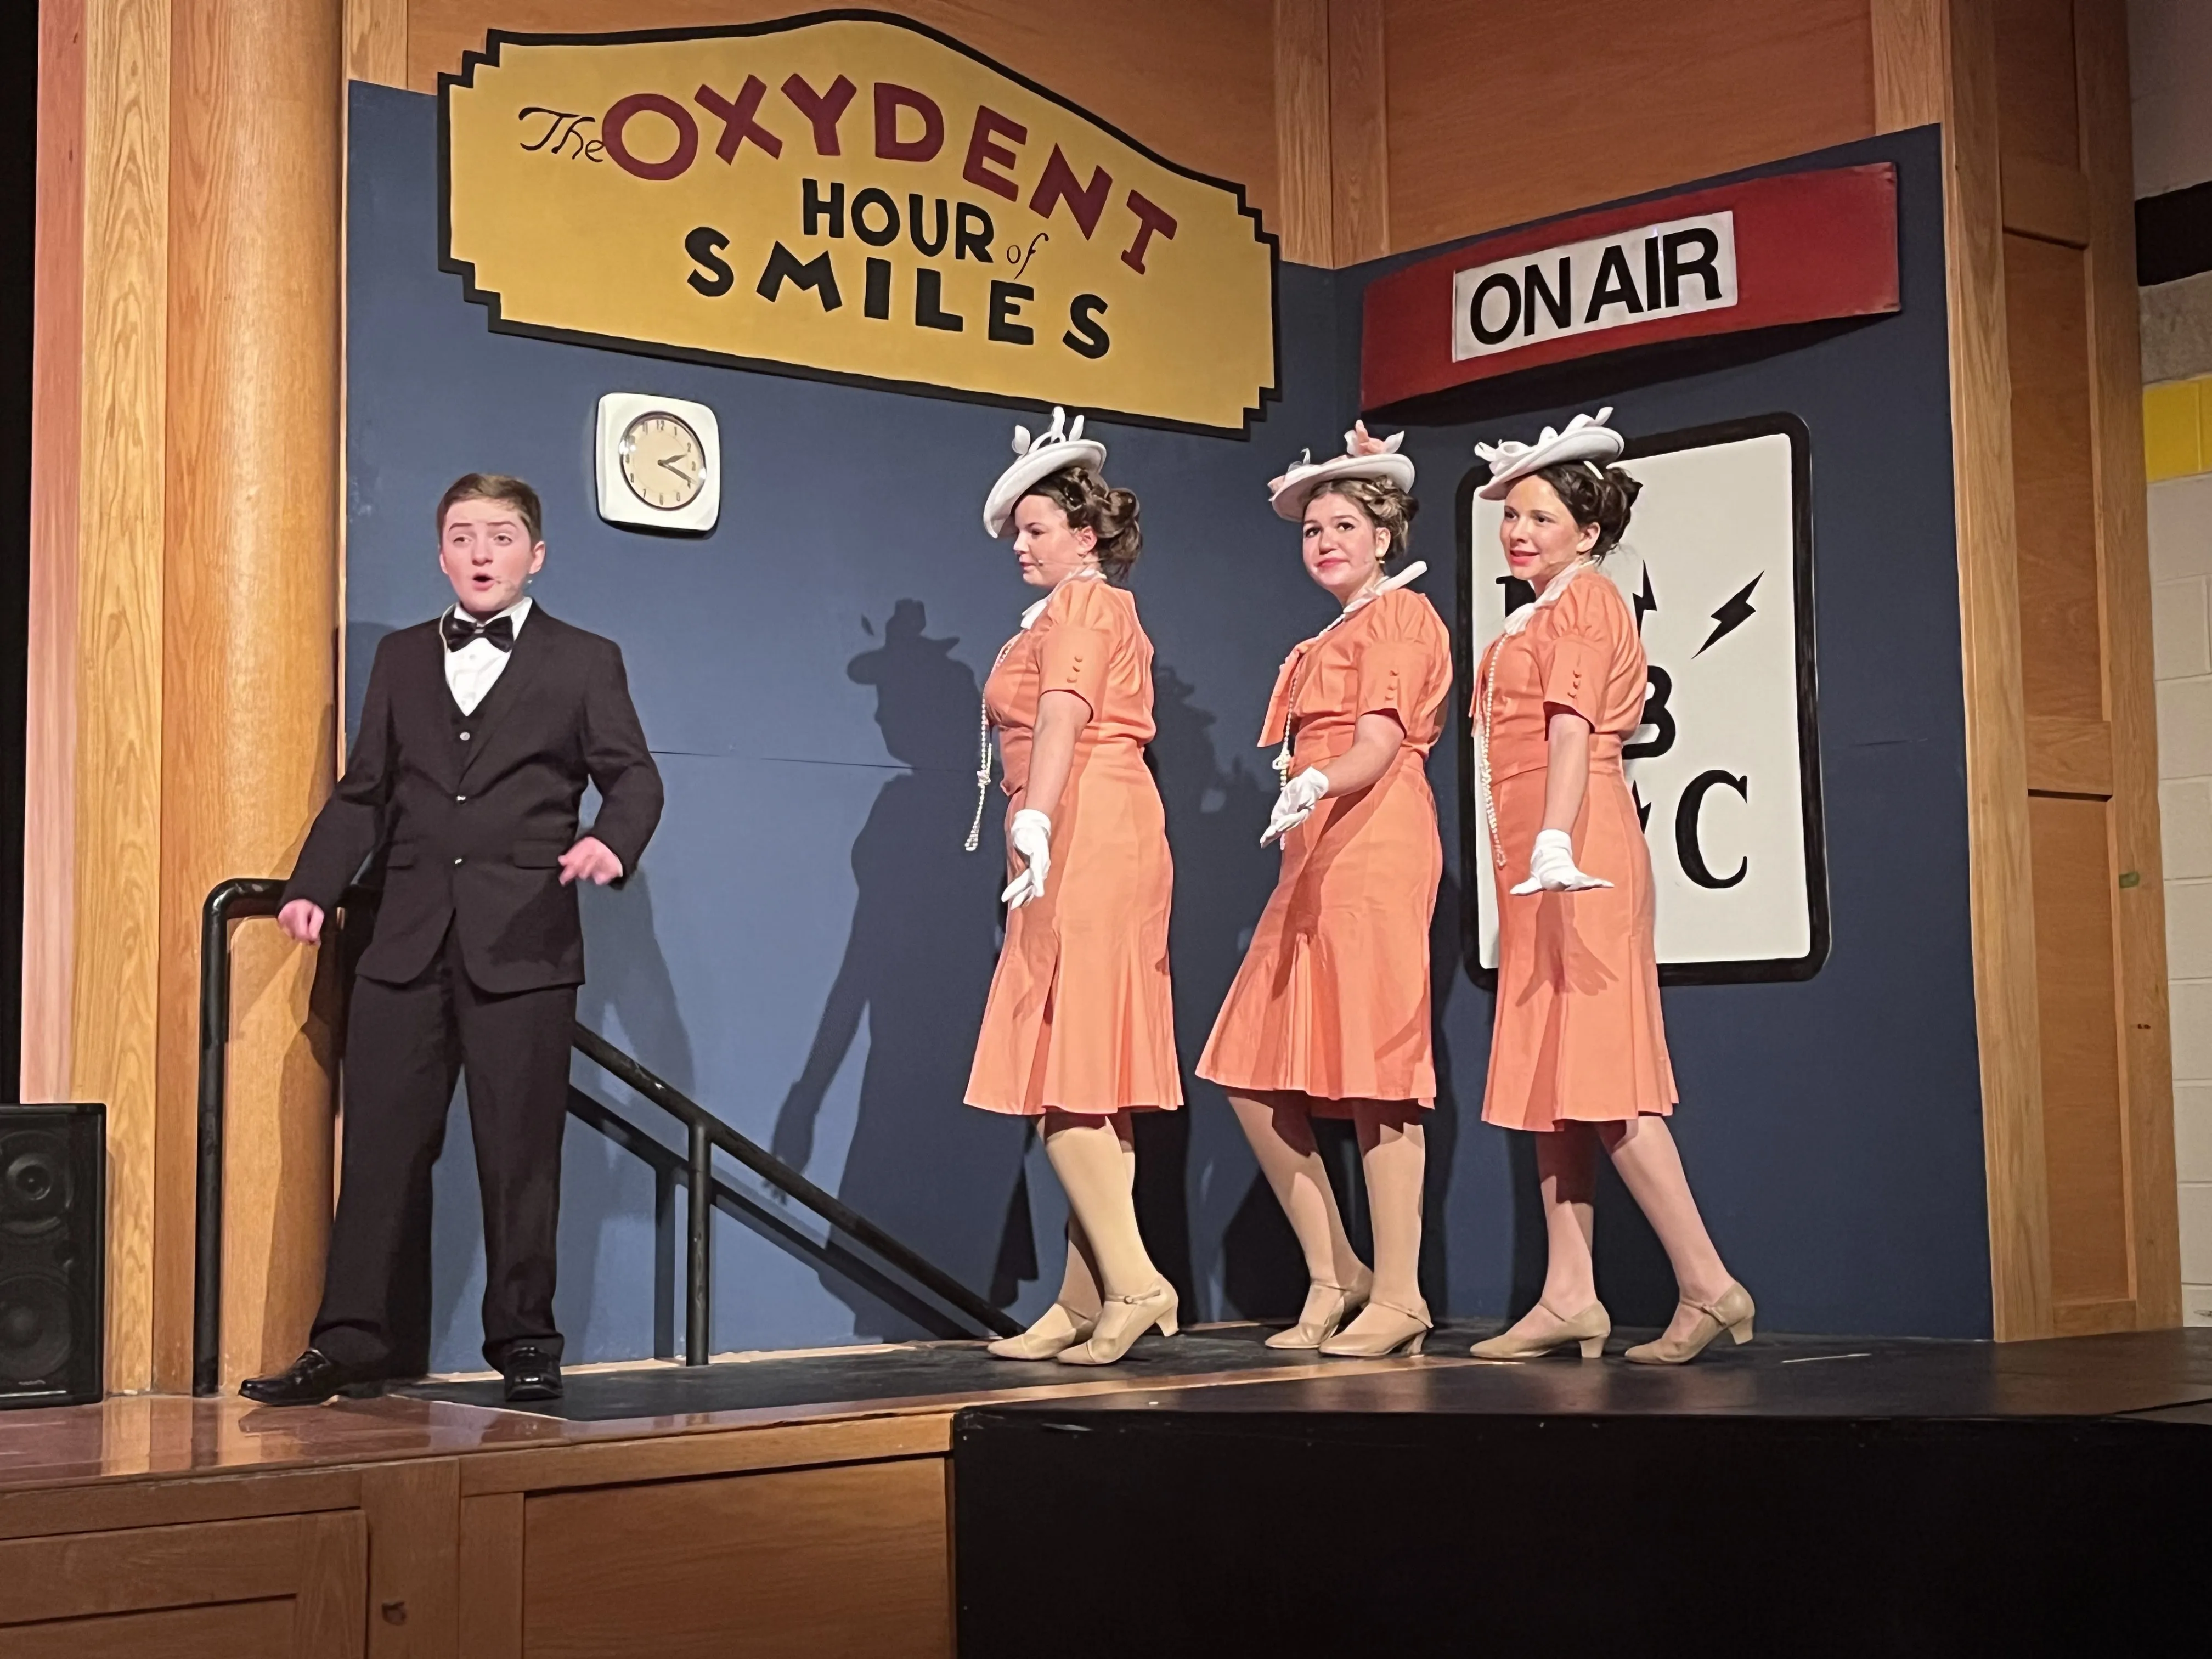
The Oxydent Hour of Smiles Radio Studio
The radio broadcast scene is a gift for set builders. It’s a distinct world — all Art Deco geometry and 1930s commercial optimism — and it gives you a chance to do some real signage work.
I’m not a painter, but sometimes the show demands it. I found a reference for the Oxydent Hour of Smiles logo, roughly recreated it, traced it onto the Luan panel in pencil, then got down on my stomach and painted the whole thing by hand. The key is patience: thin coats, clean edges, don’t rush the lettering.
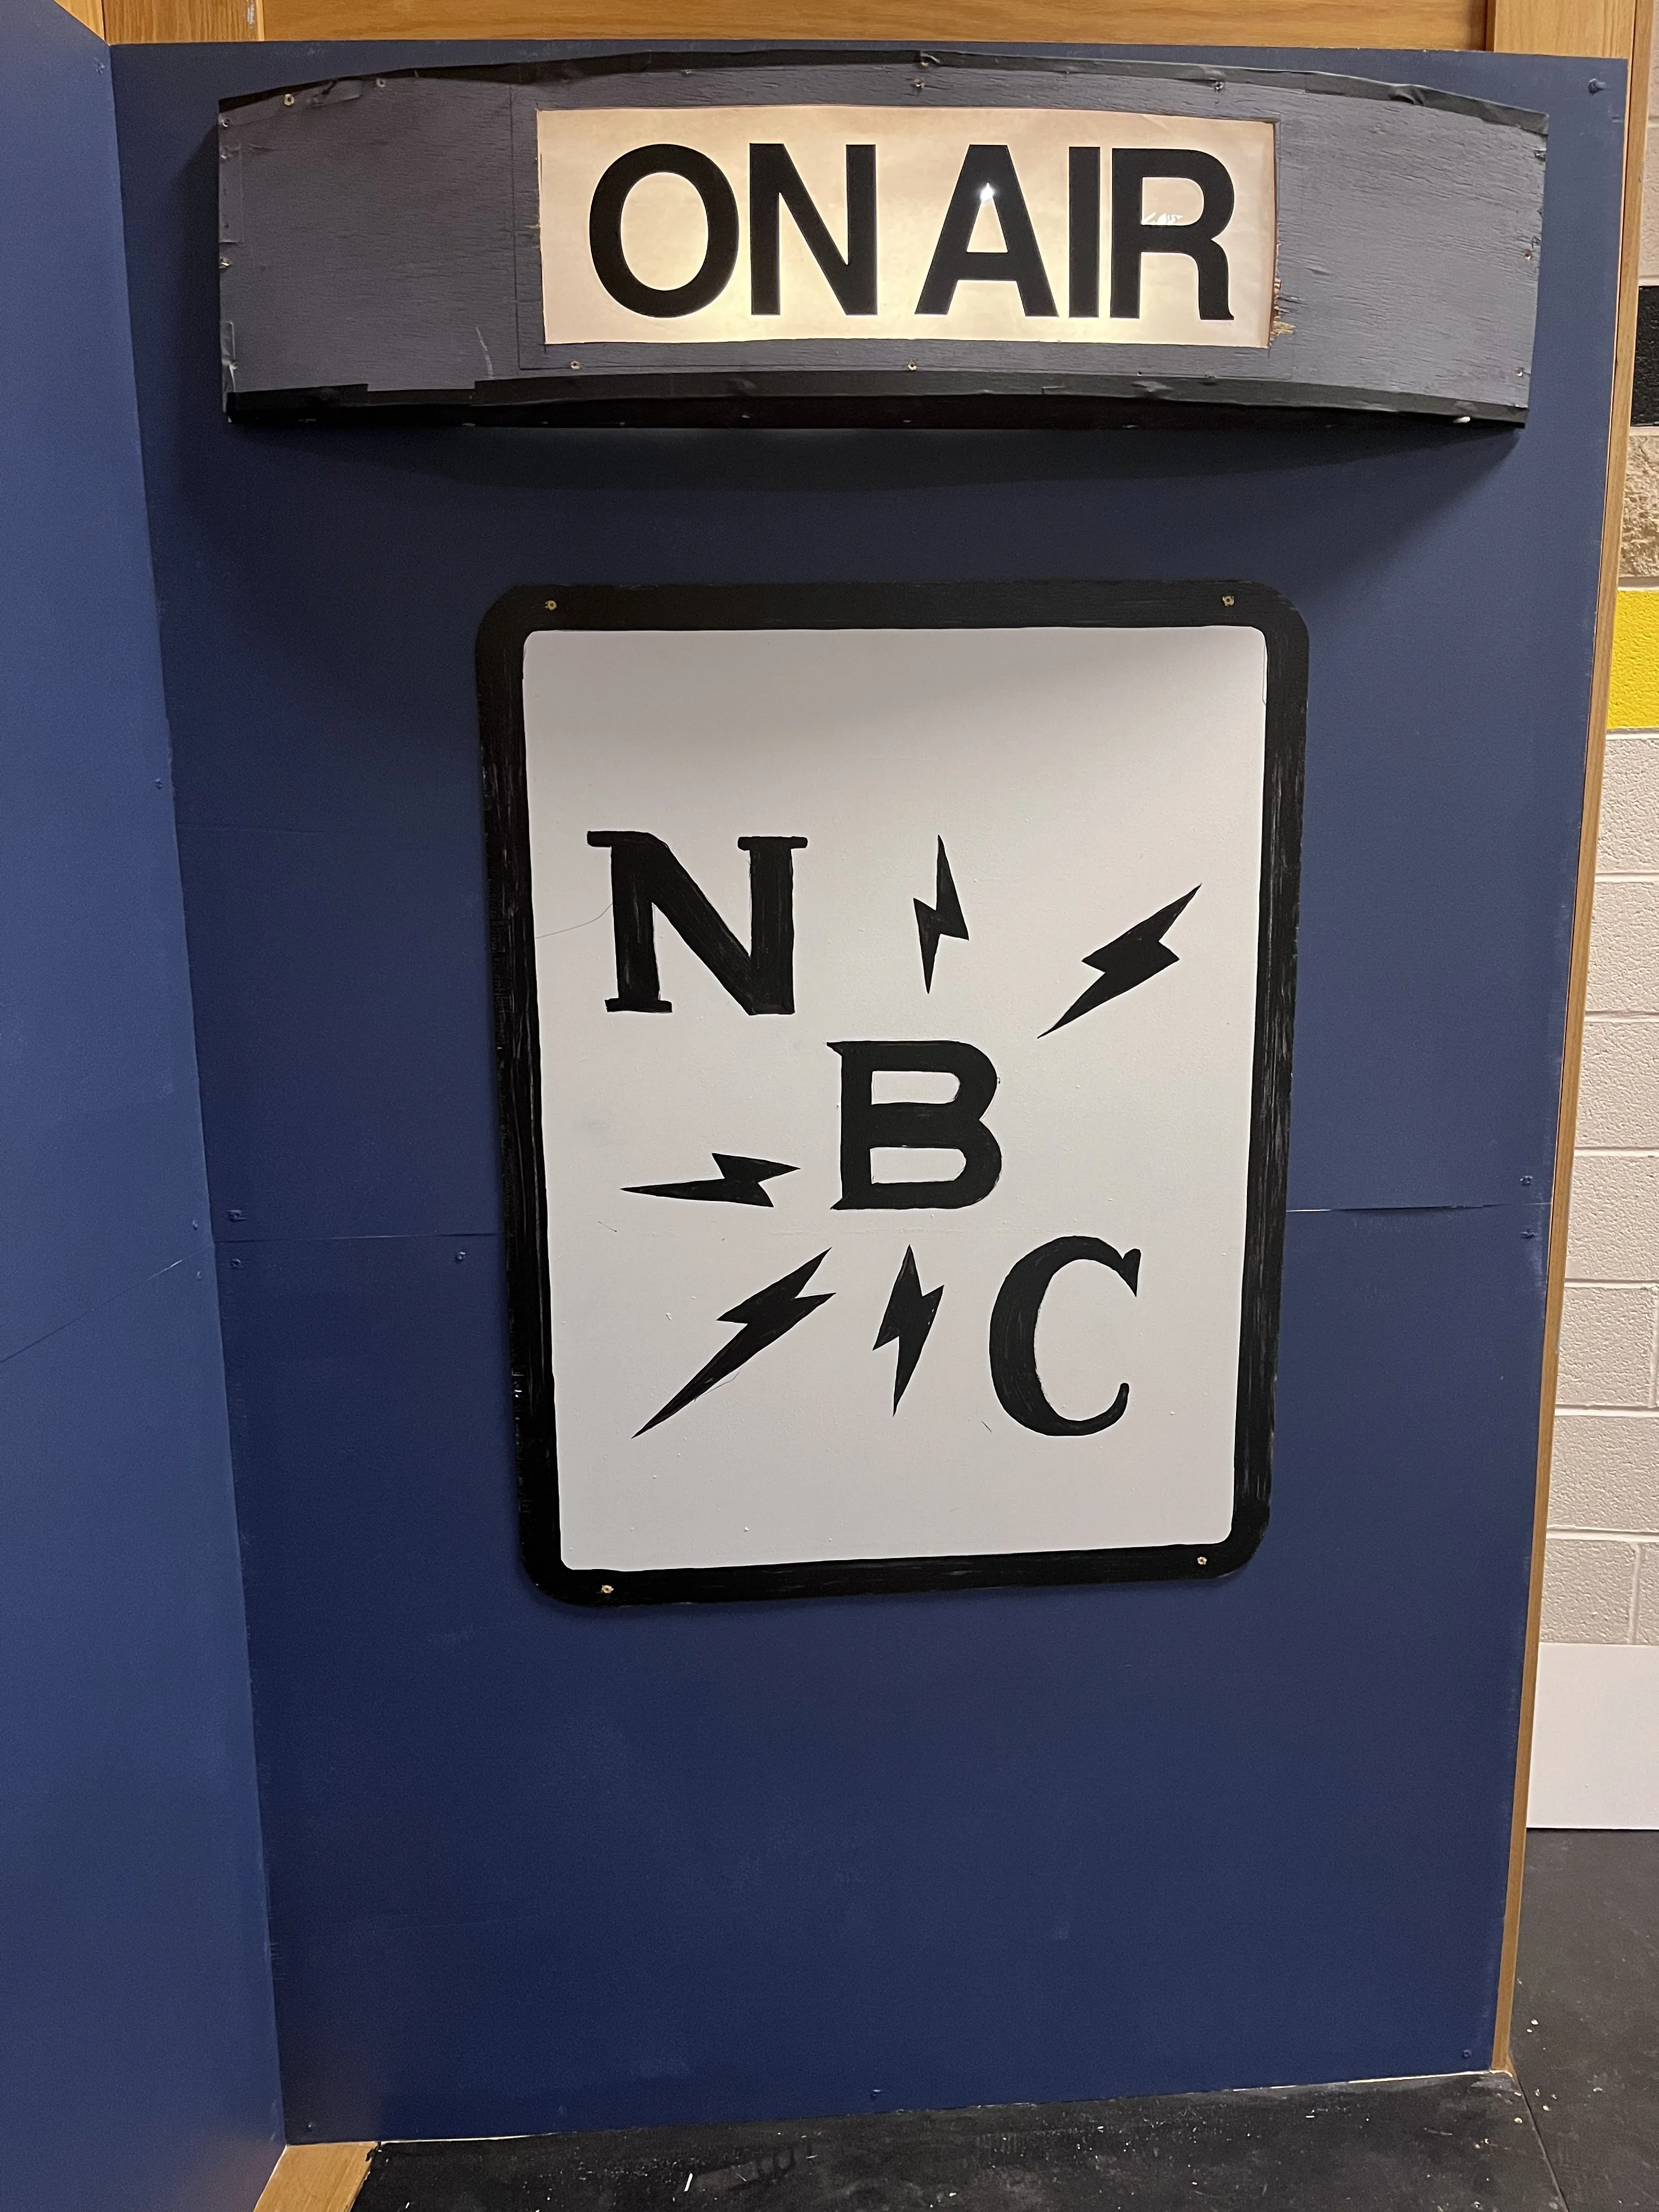
I also built the NBC sign — hand-painted with the 1930s NBC lightning bolt logo. Both signs turned out beautifully. (Sadly, I lent them to another school after the show and they were never returned. Lesson learned: put your name on everything and get it in writing.)
The ON AIR sign has a good backstory. It was originally built for our production of High School Musical — which was canceled because of COVID. The sign sat in storage for six years without ever seeing a stage. It finally made its debut as the ON AIR sign for the Oxydent radio studio, six years after it was built.
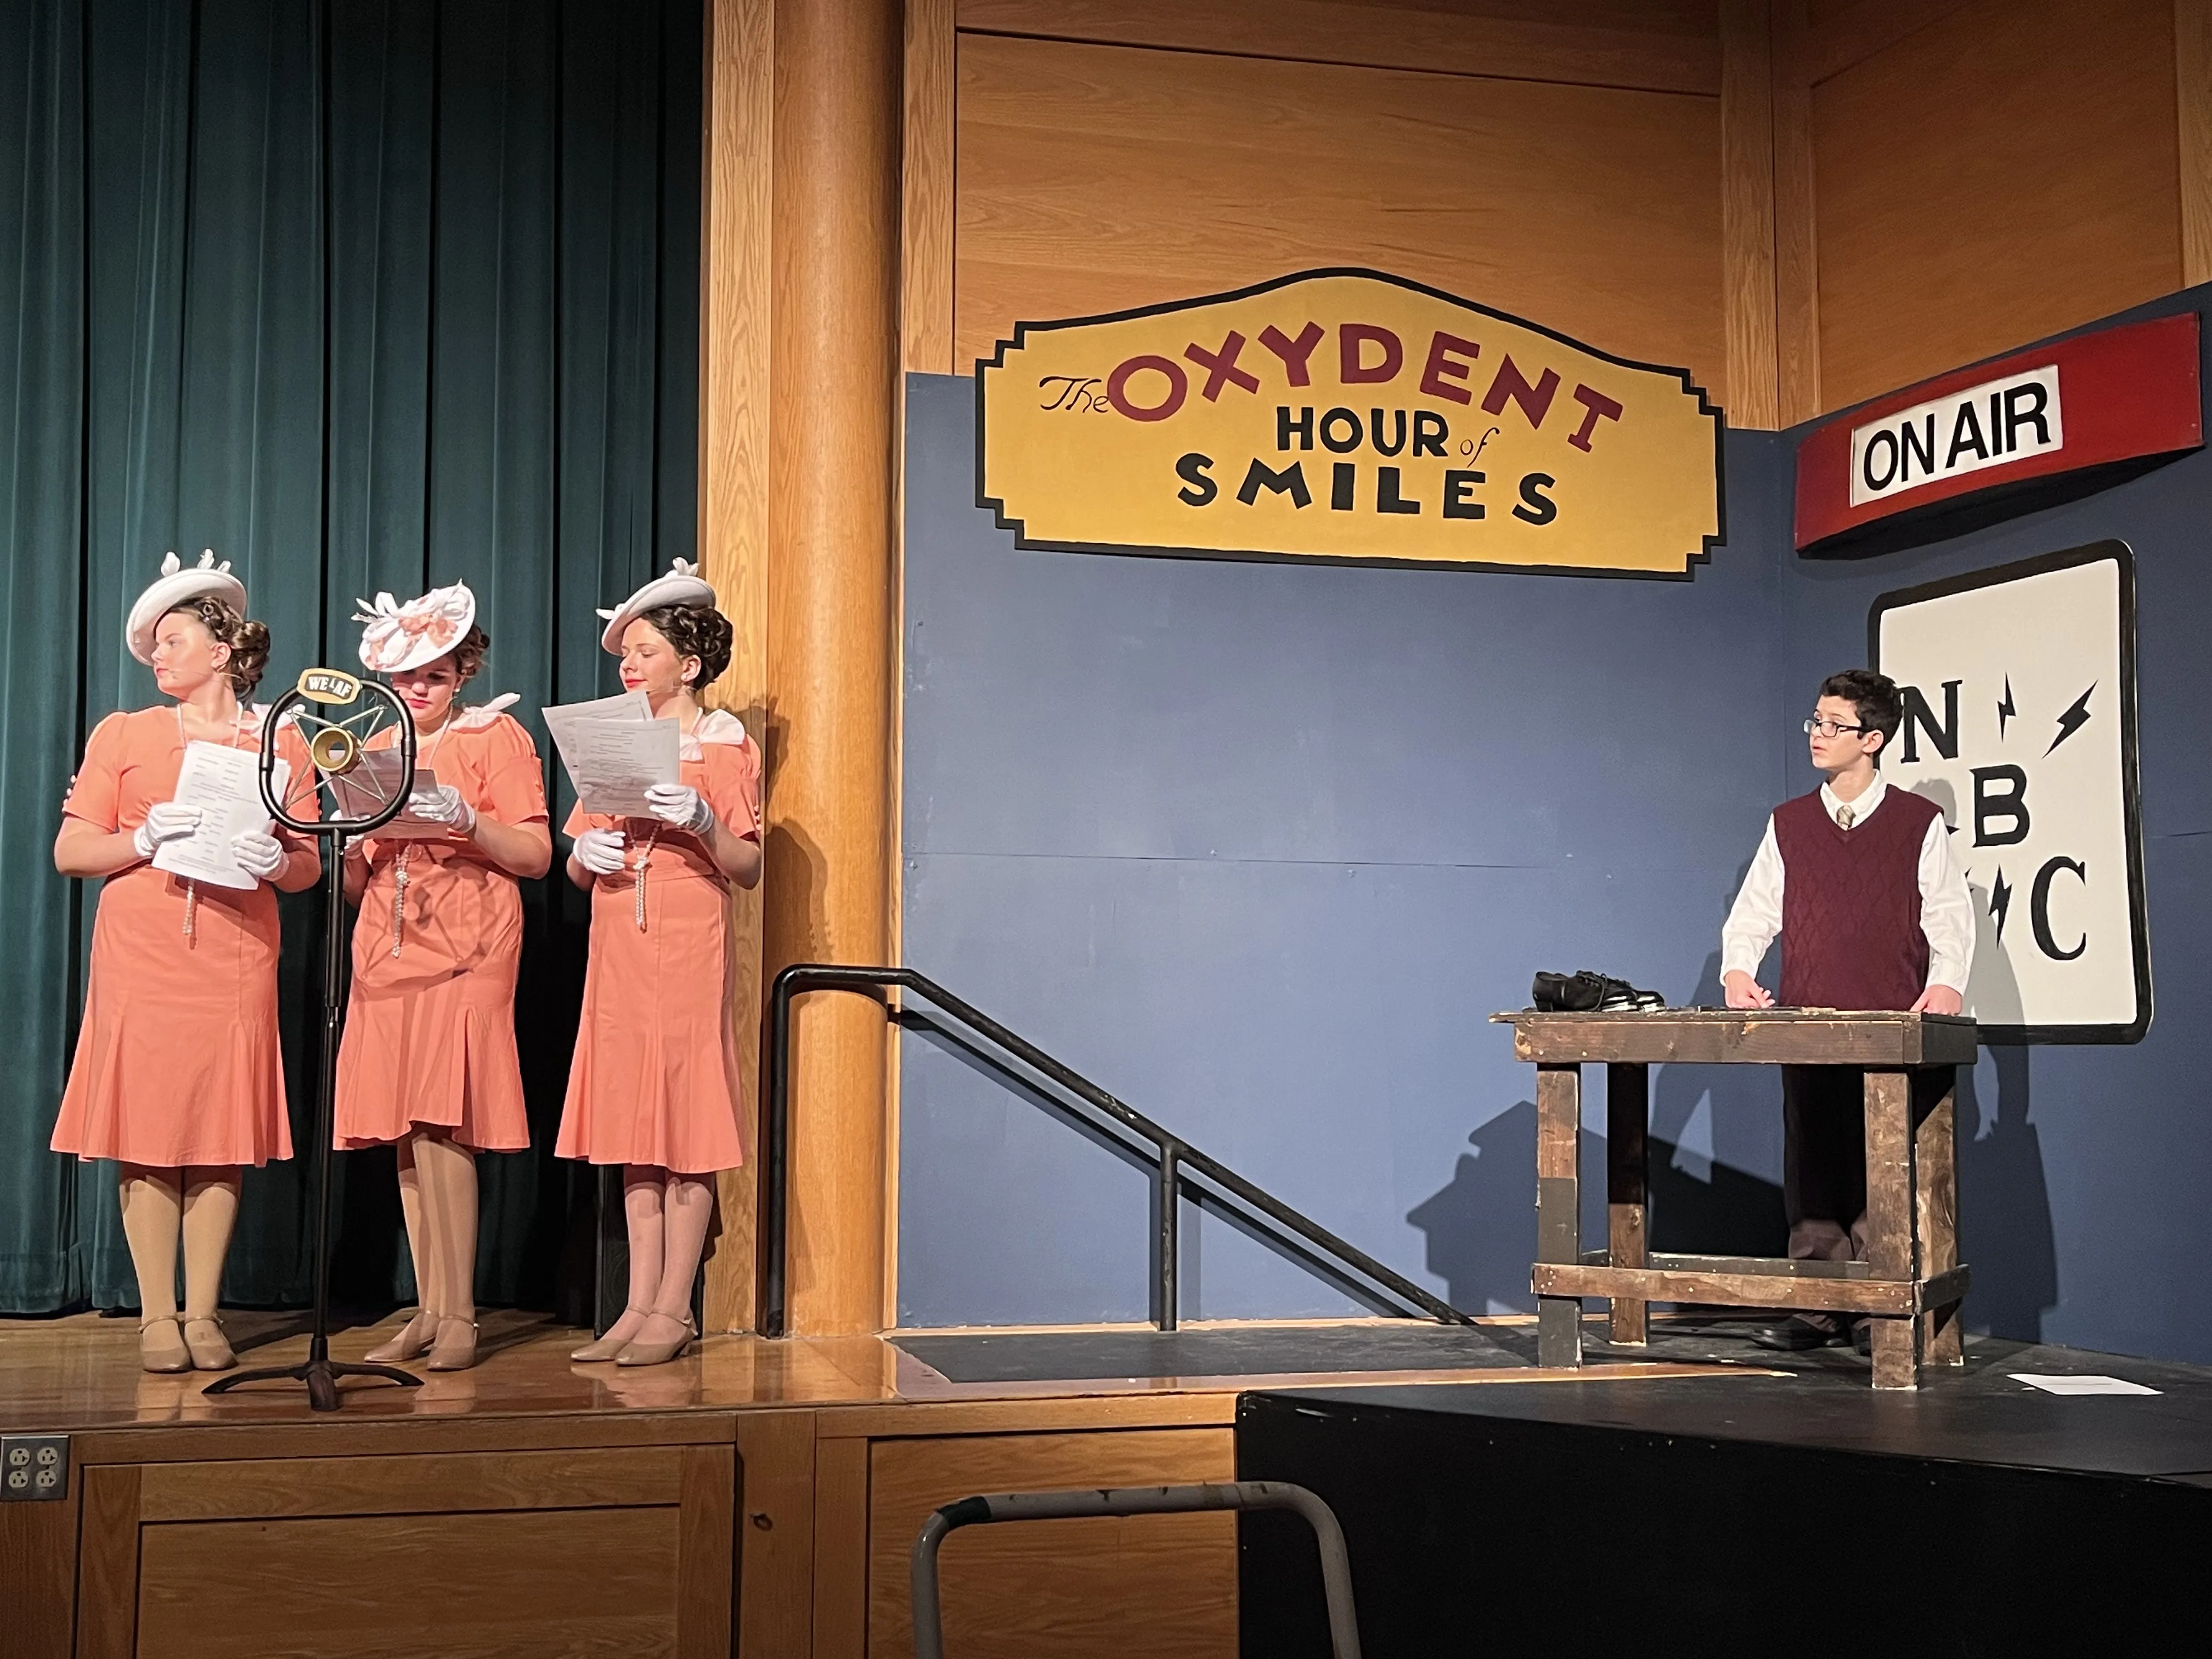
Here’s how the full radio studio scene looked in performance:
Tips for the radio studio scene:
- The Oxydent sign shape (the arched top with the stepped bottom) is essential to read as period-correct — don’t simplify it to a rectangle
- The NBC lightning bolt logo is very recognizable from this era; a Google image search for “NBC 1930s logo” will give you good reference
- Blue walls sell the studio feel immediately — it’s a great contrast to the warm tones of the orphanage and street scenes
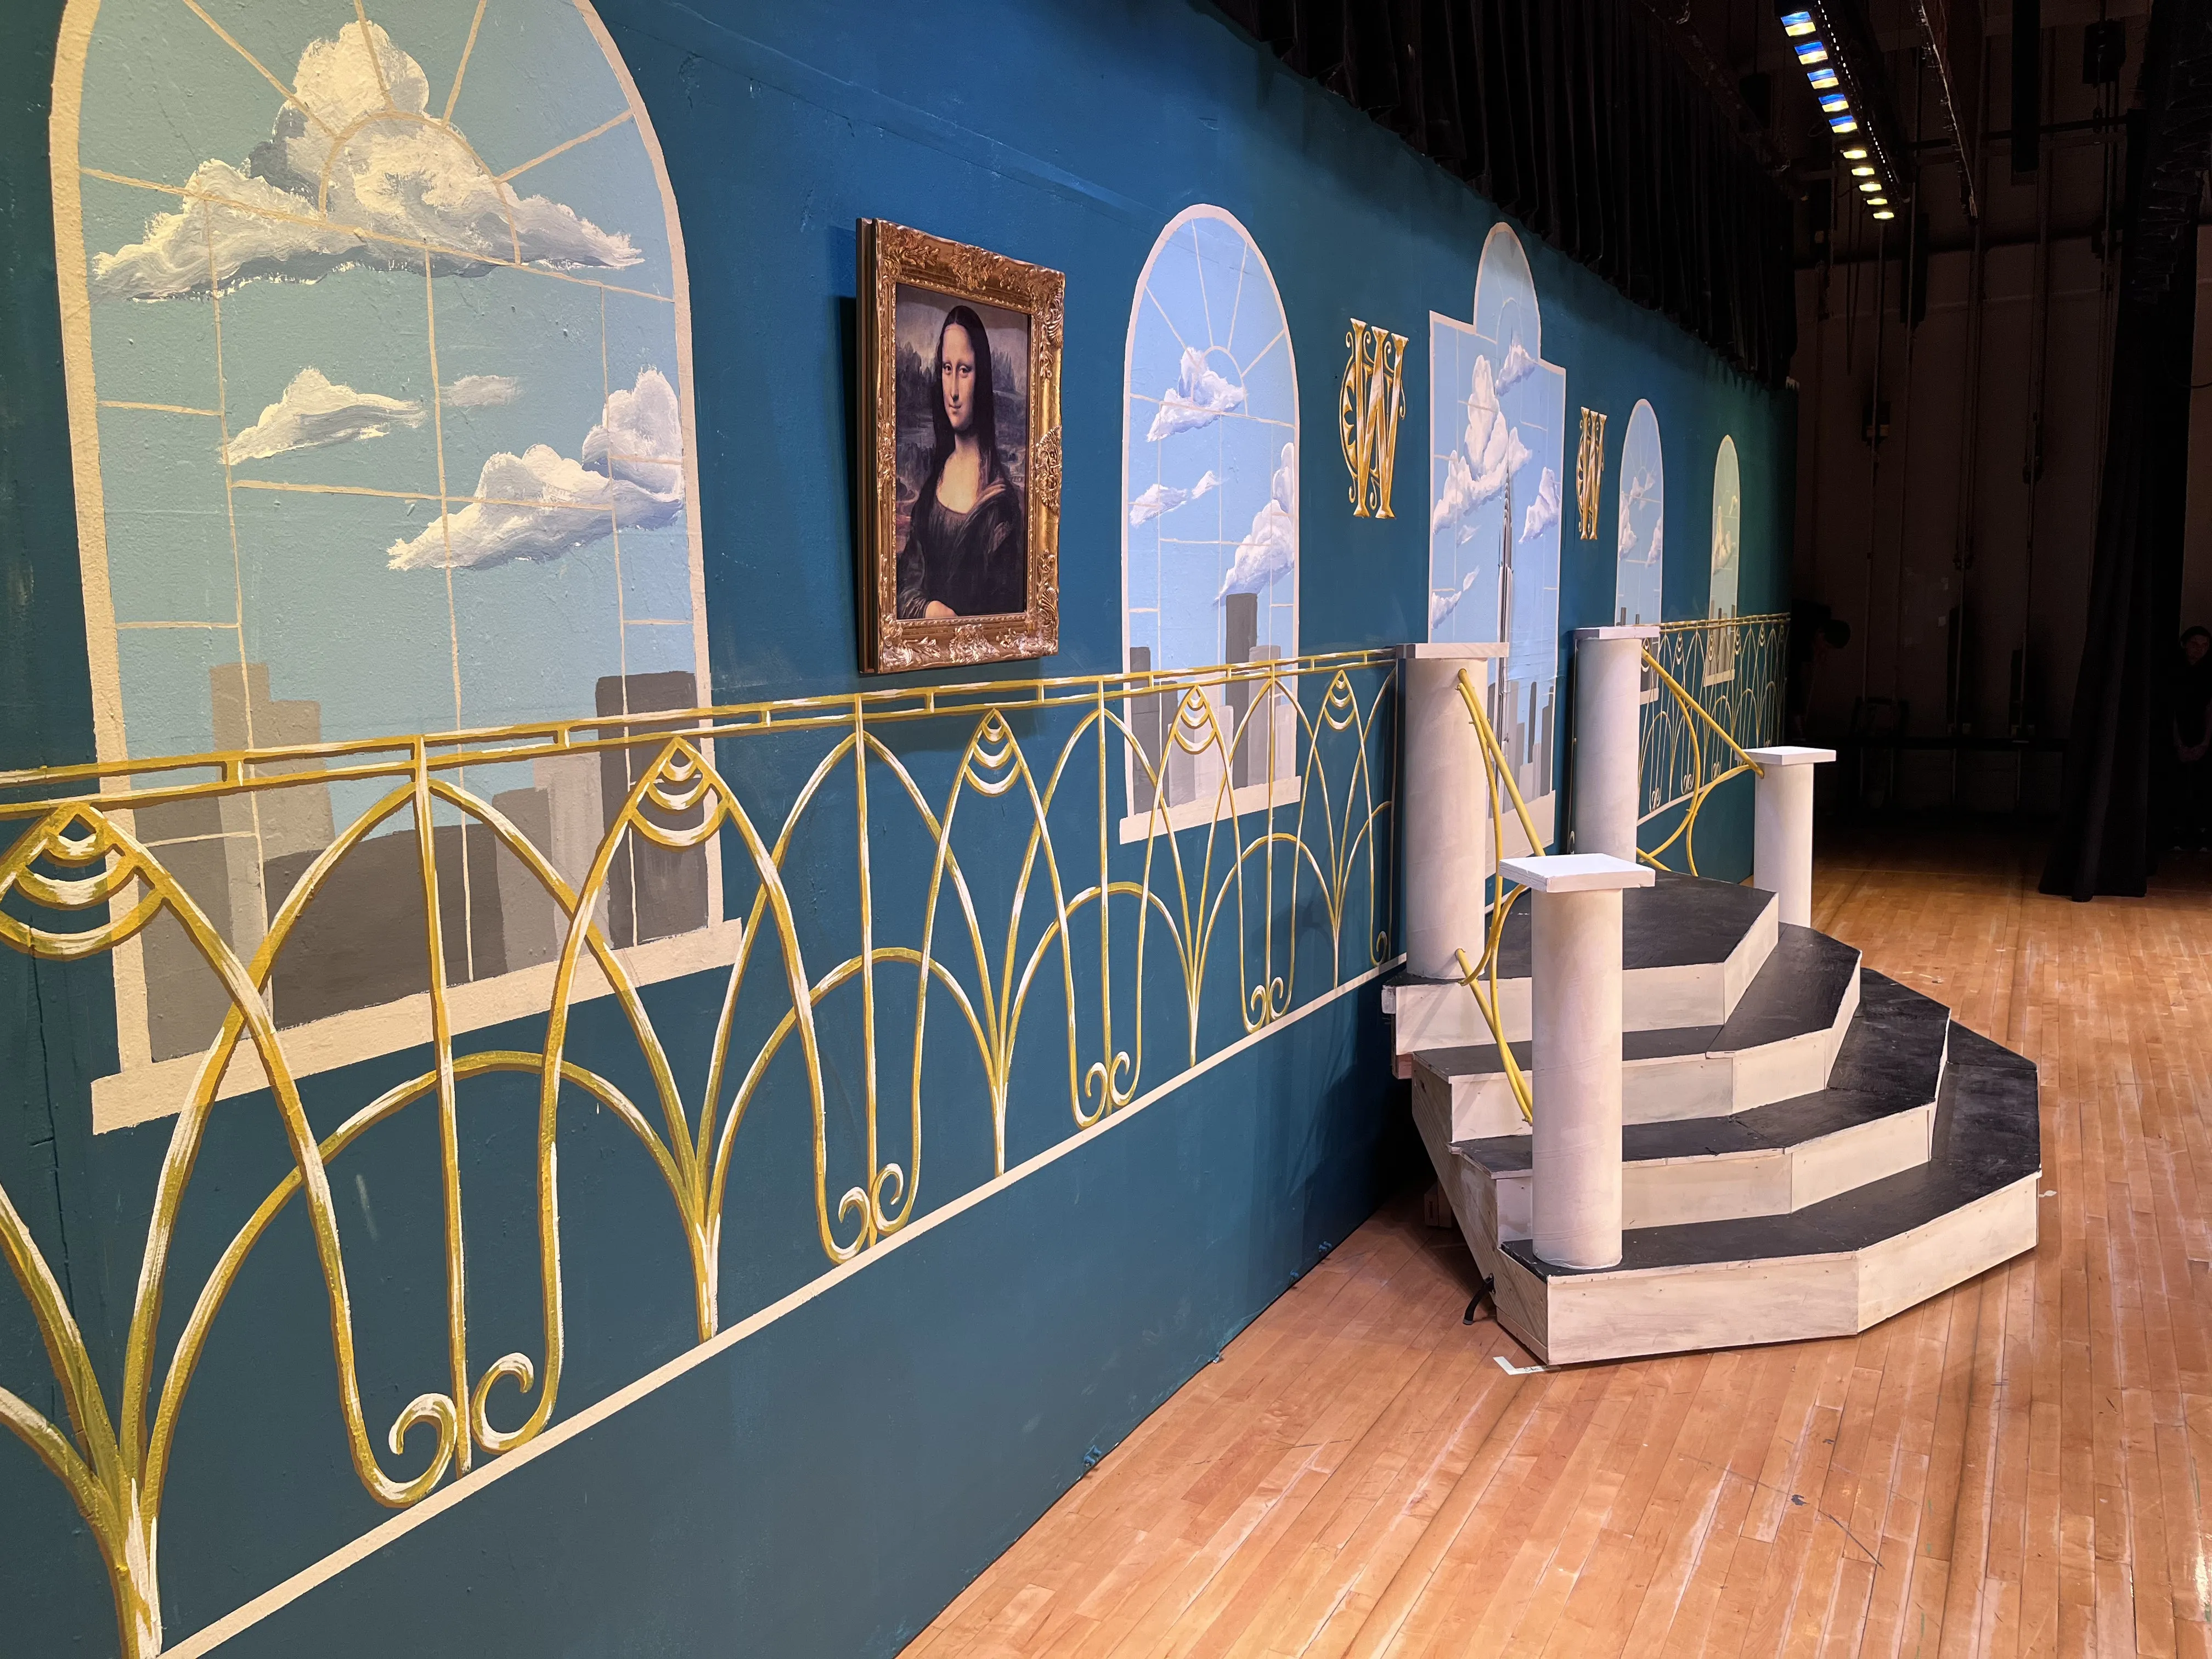
Daddy Warbucks’ Mansion
The Warbucks scenes needed to feel opulent. We were fortunate to have a talented painter who created the backdrop — large arched windows with sky and clouds, the Chrysler Building, and gold W monograms. My job was to add the physical dimension that makes a painted backdrop feel like a real space.
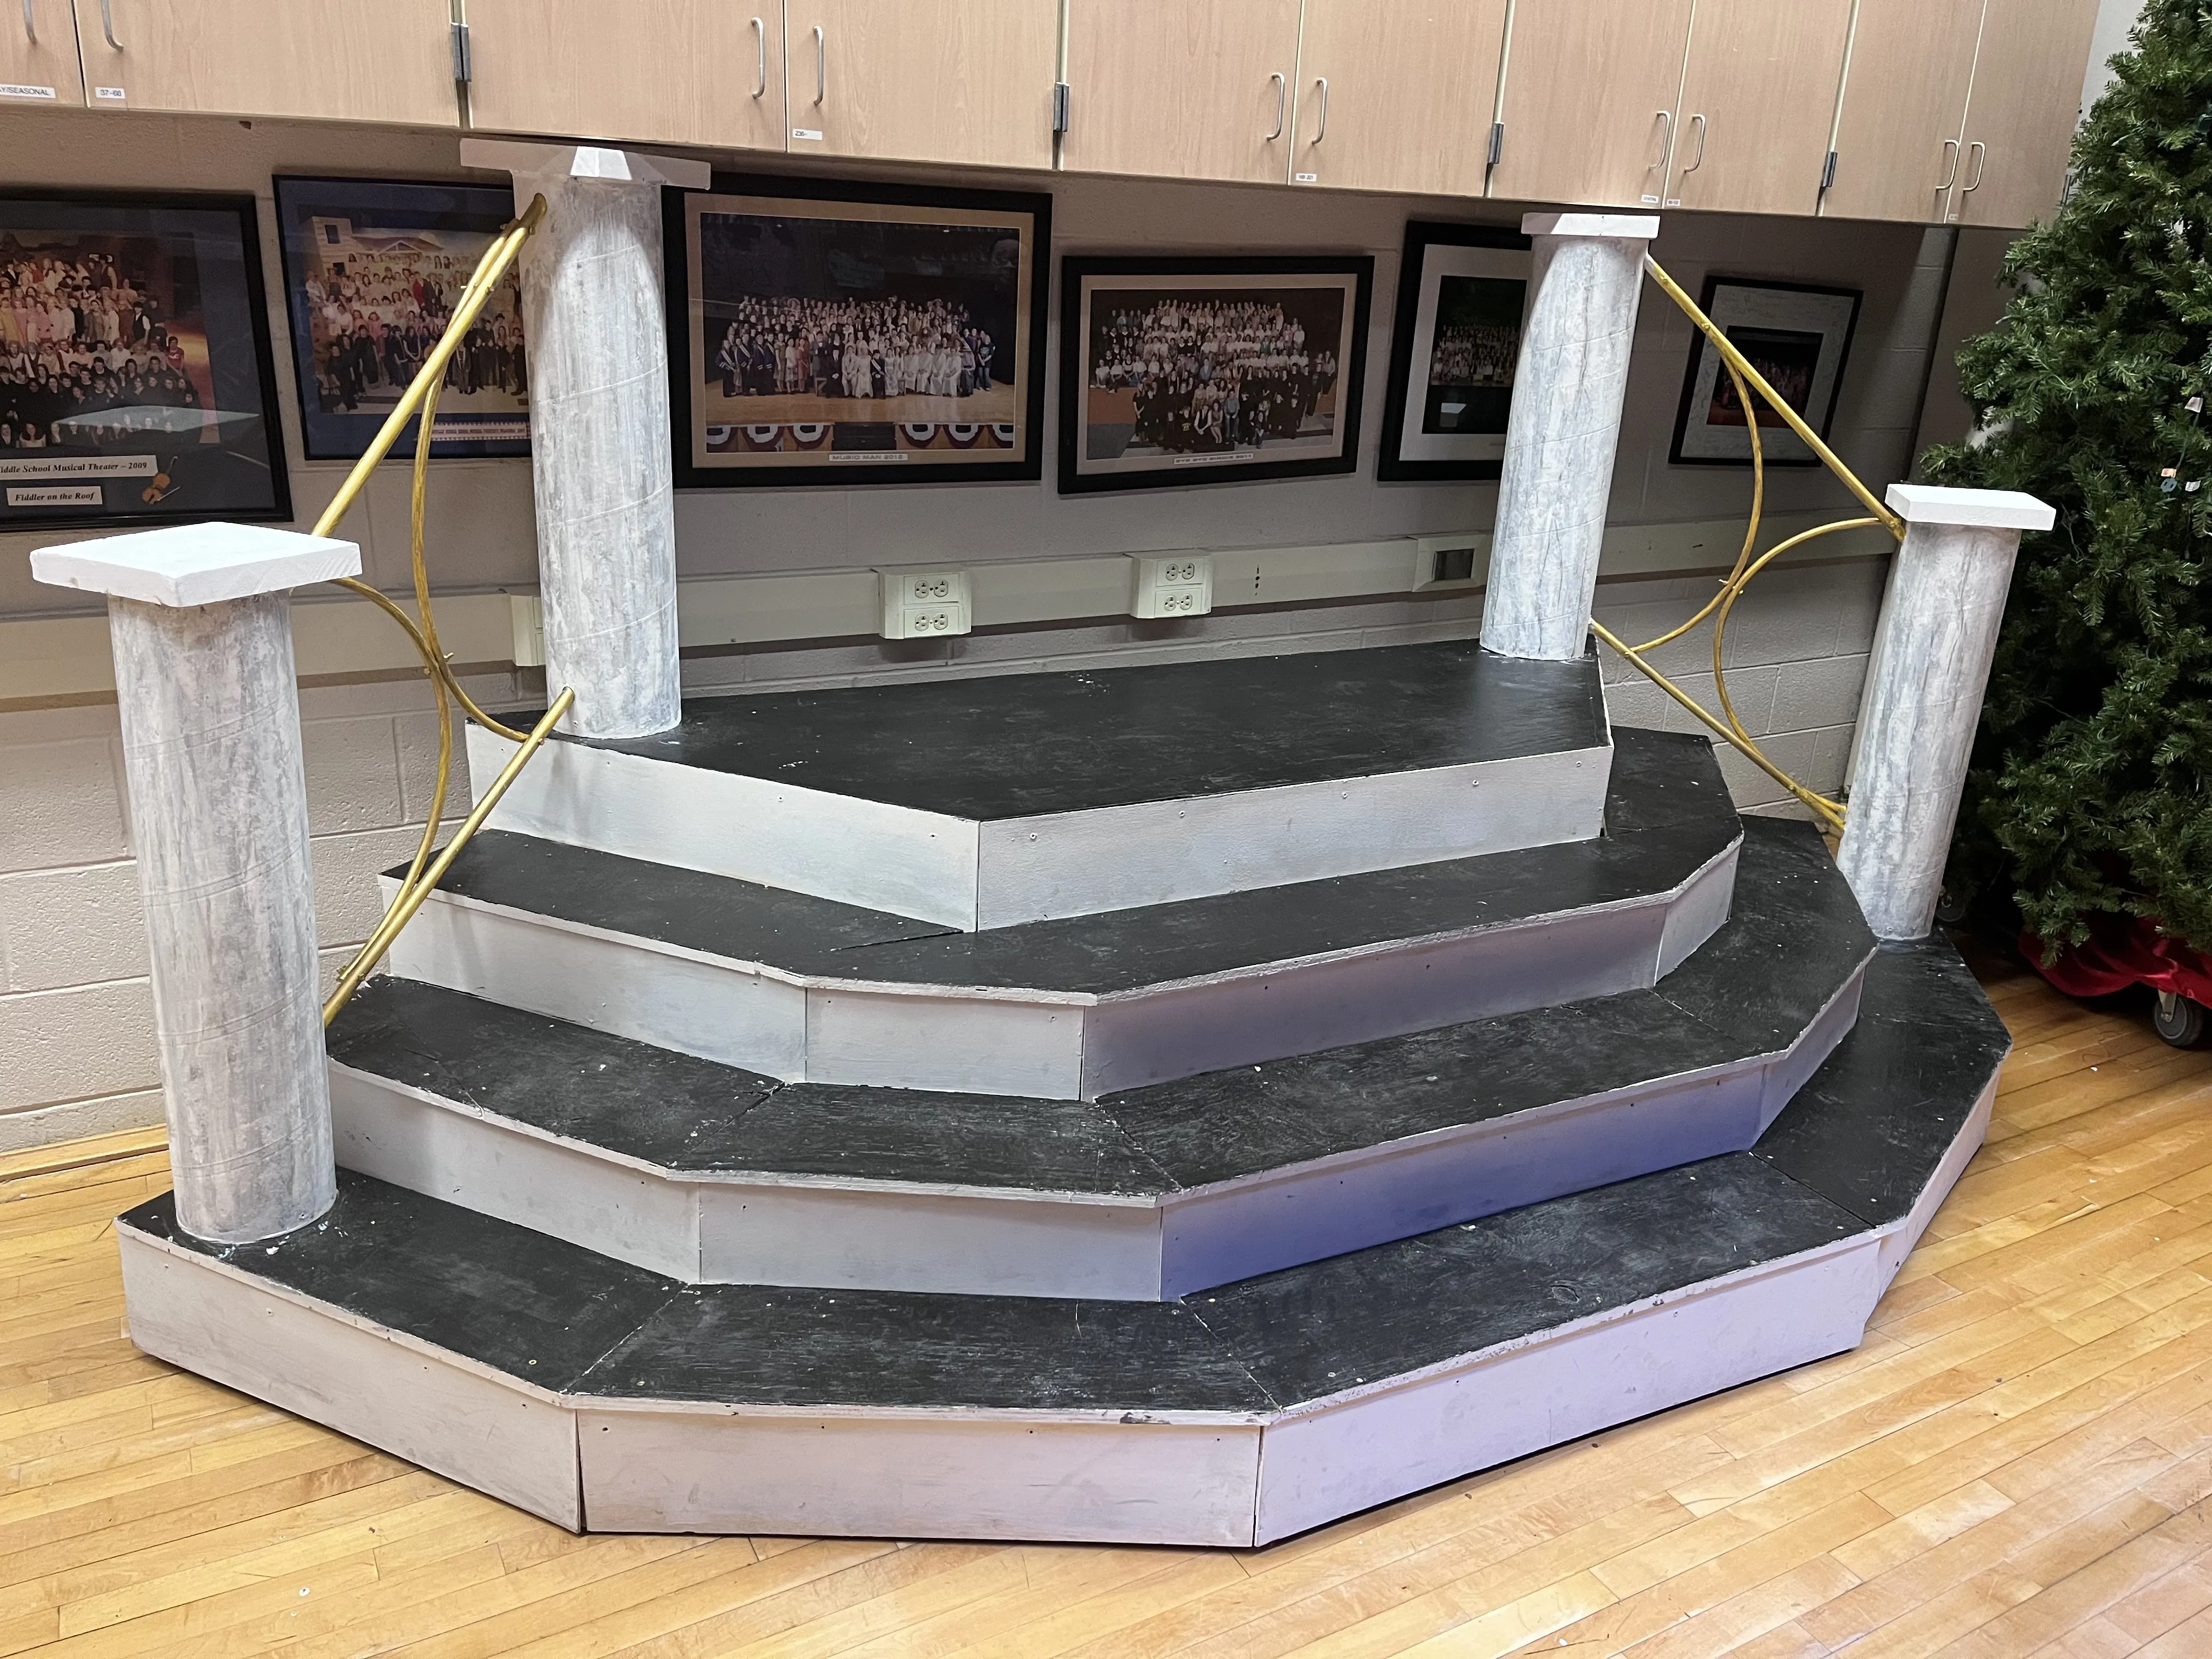
The Staircase Platform
I built a central staircase platform — an octagonal shape with three steps, flanked by four columns with gold rope between them. This gives Annie a place to make her entrance and creates a focal point for the reunion scenes. It also photographs beautifully.

The Mona Lisa
One of the fun details of the Warbucks mansion is that he has the actual Mona Lisa hanging on his wall. We found a framed reproduction print and hung it directly on the backdrop. It’s a simple touch but it always gets a reaction from the audience.
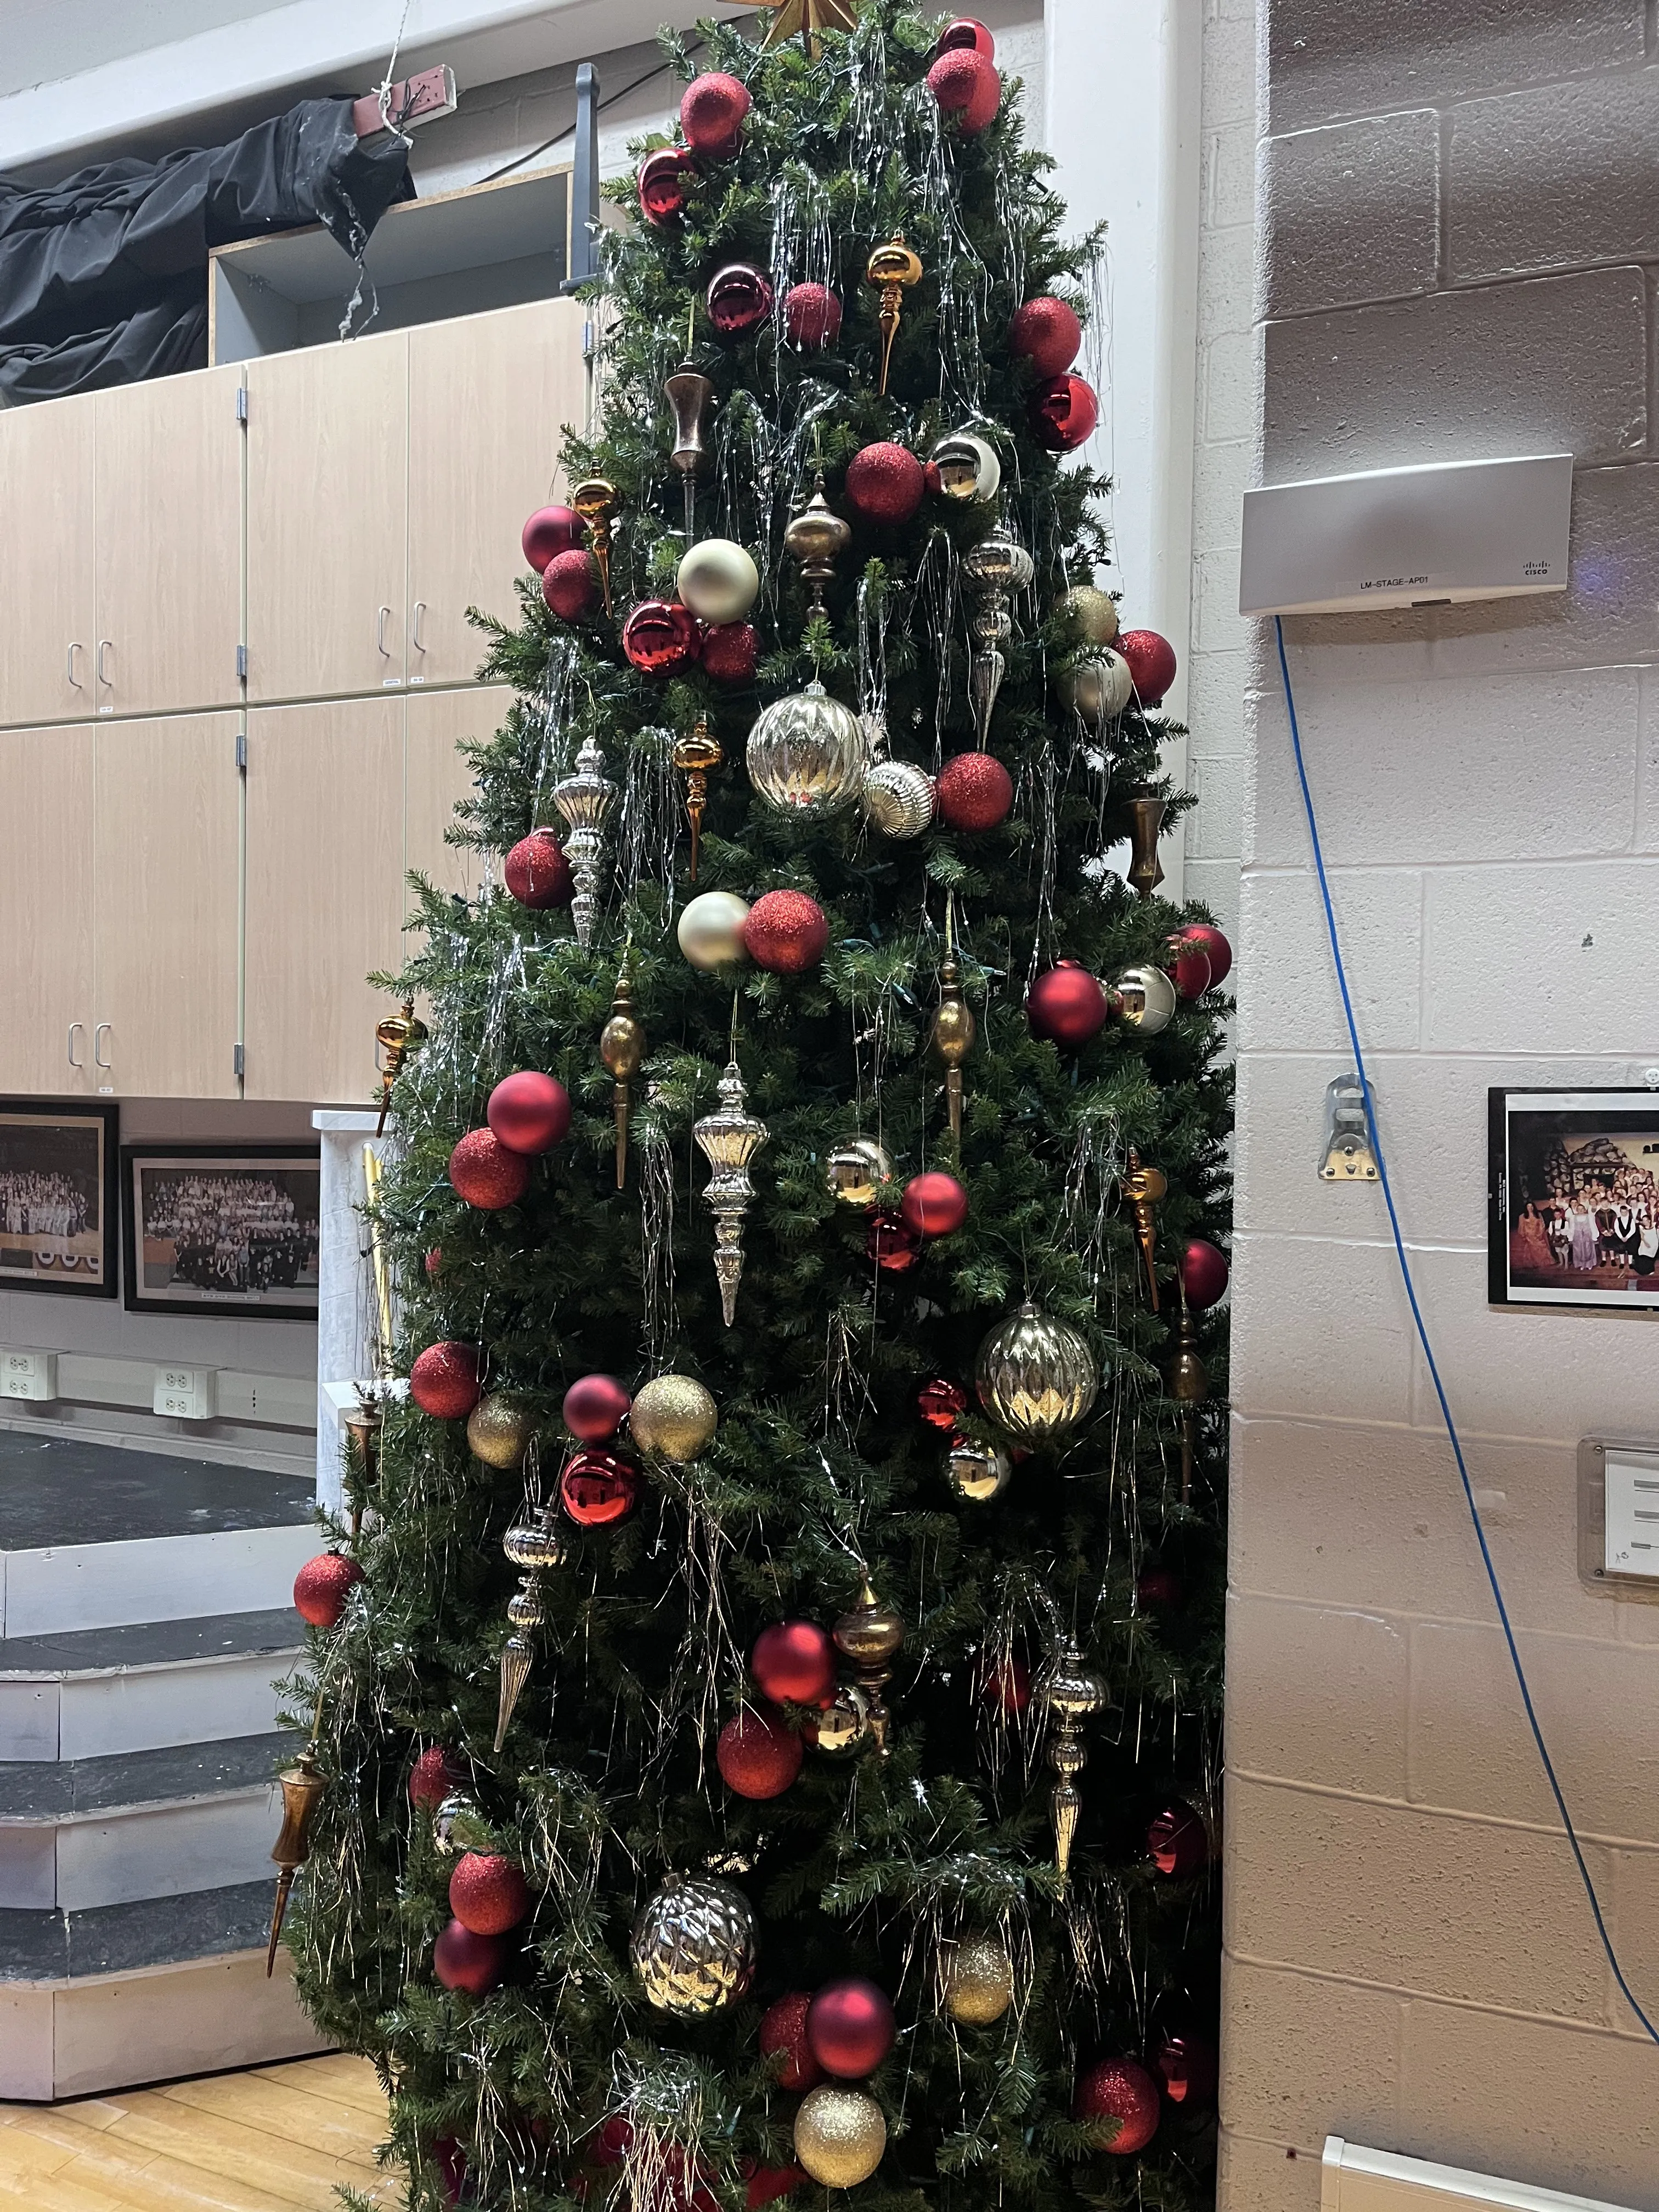
The 12-Foot Christmas Tree
Someone in our community was throwing out a 12-foot artificial Christmas tree. We grabbed it. I built a mobile platform with high-quality heavy-duty casters so the tree could roll on and off stage smoothly and even pivot in place.
The tree just barely cleared our fly — I had to trim a few inches off the top. But once it was on stage, it dominated the room. Rolling it out for the final scenes created a genuine “wow” moment every performance.
Tips for the Warbucks mansion:
- Even a simple staircase platform transforms a flat backdrop into a real environment — the vertical levels are worth the effort
- Heavy-duty casters (swivel with brakes) make rolling large set pieces on and off clean and quiet
- Don’t underestimate found props — the Christmas tree cost nothing and became the biggest visual moment of the show
- Put a physical railing or rope element in front of painted backdrops; it bridges the gap between 2D and 3D and sells the whole thing
Annie is a demanding show but a deeply satisfying one to build. Every scene has its own visual identity and each one gave me a chance to try something new — foam carving, hand-lettered signs, marquee lighting. If you’re building Annie and have questions about any of these pieces, feel free to reach out.